
The 1980s kitchen aesthetic—characterized by oak cabinets, laminate countertops, and brass fixtures—has long overstayed its welcome in many homes. However, transforming these dated spaces doesn’t require a complete renovation or a six-figure budget. With strategic updates and creative solutions, you can bring your 80s kitchen into the modern era while respecting financial constraints.
Modernizing a kitchen involves understanding current design trends while acknowledging the existing structure’s potential. Today’s kitchens favor clean lines, neutral palettes, and functional simplicity. The good news is that many cost-effective modifications can dramatically shift your kitchen’s appearance without demolishing walls or replacing every element. By focusing on high-impact changes and leveraging DIY techniques, homeowners can achieve professional results that enhance both aesthetics and functionality. This article explores eight practical approaches to updating your 80s kitchen, each designed to maximize visual transformation while minimizing expenses.
1. Paint or Refinish Oak Cabinets
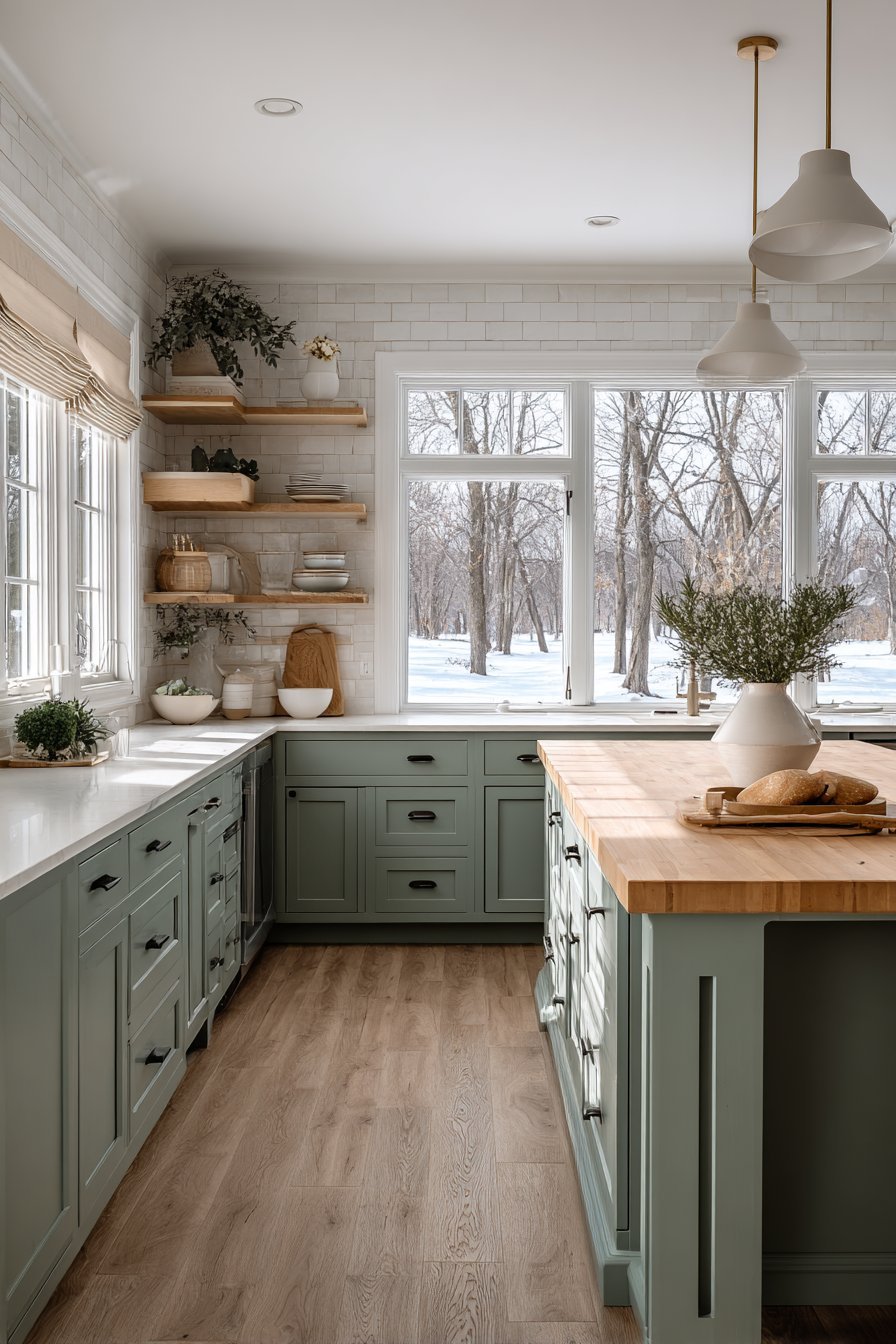
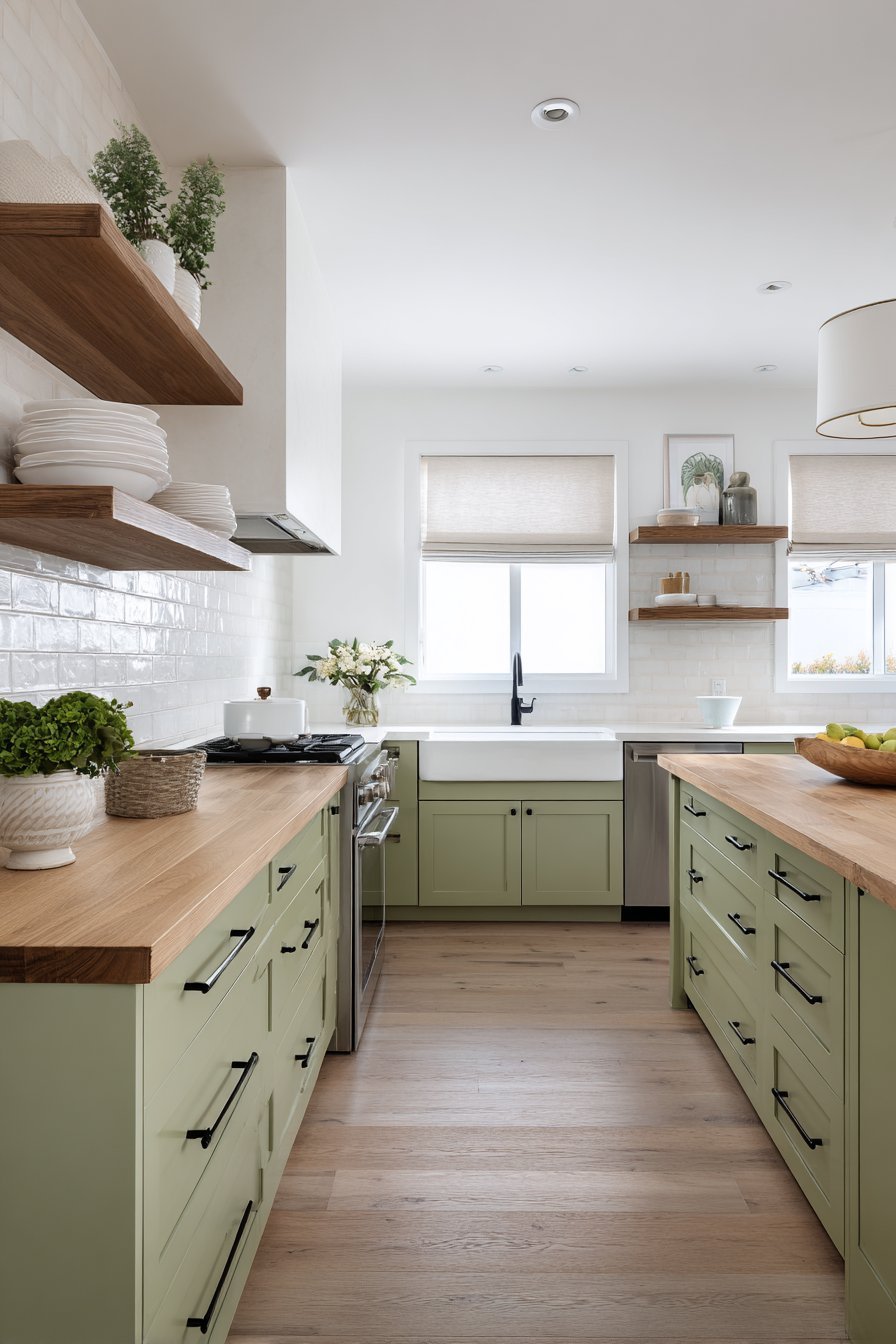
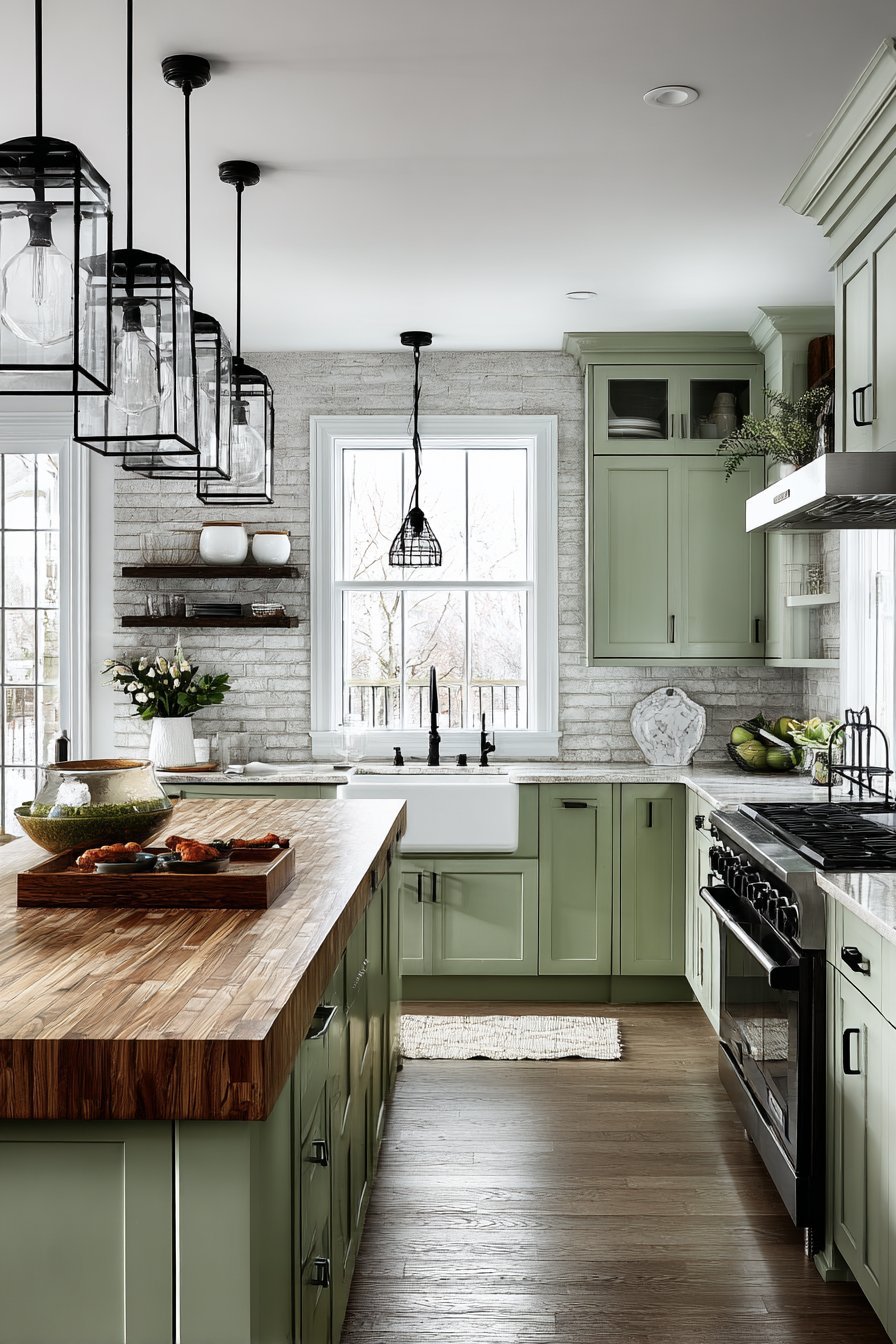
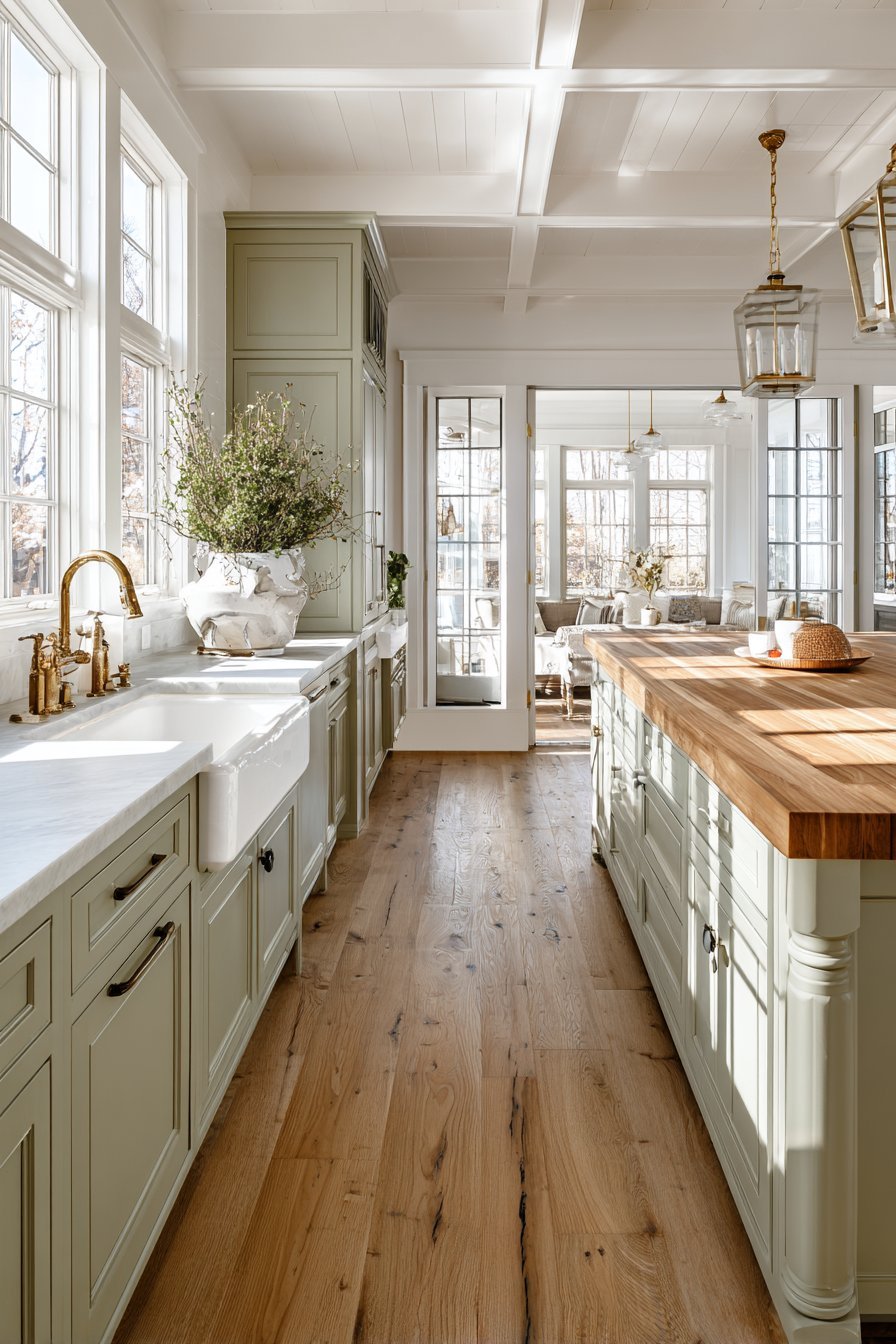
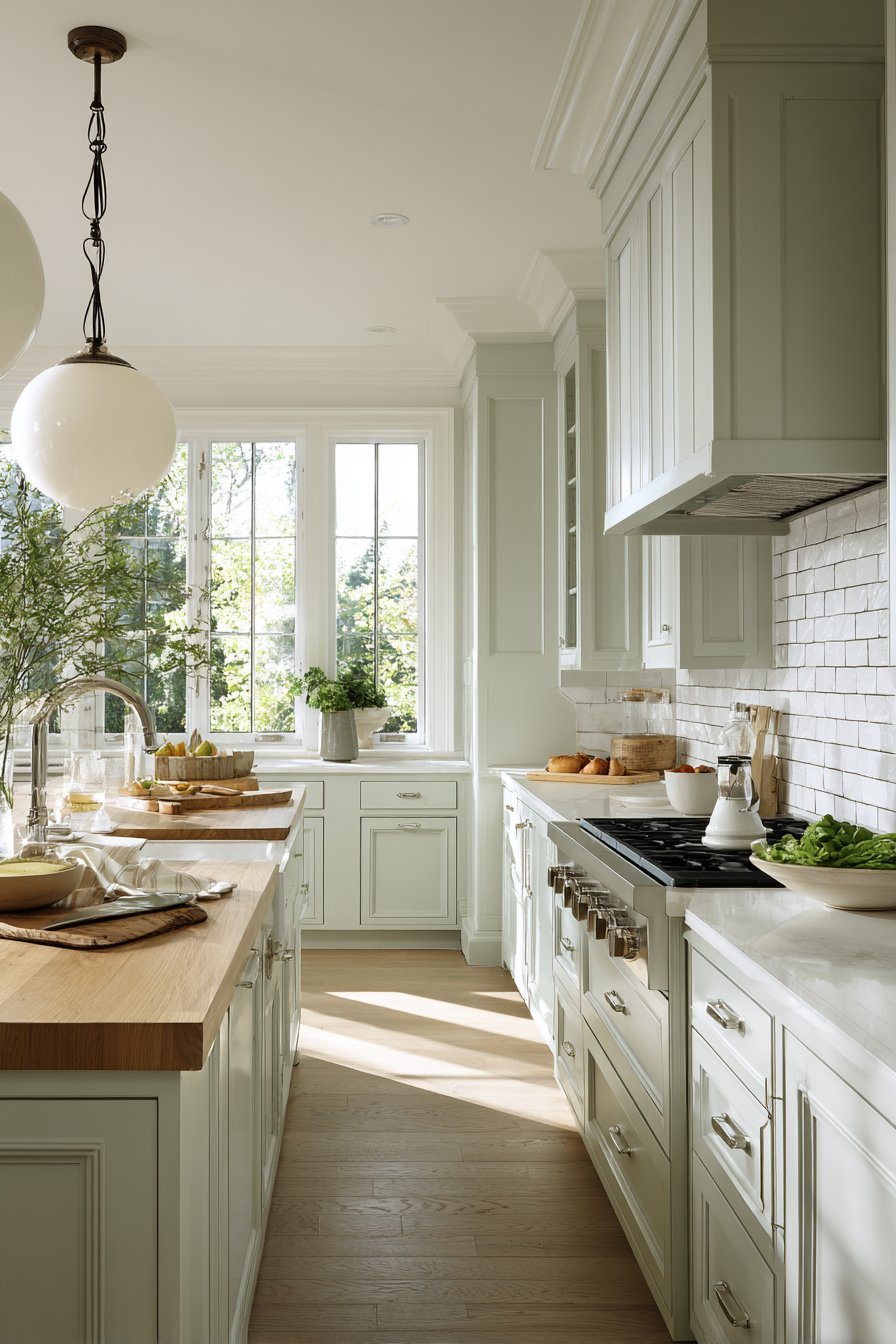
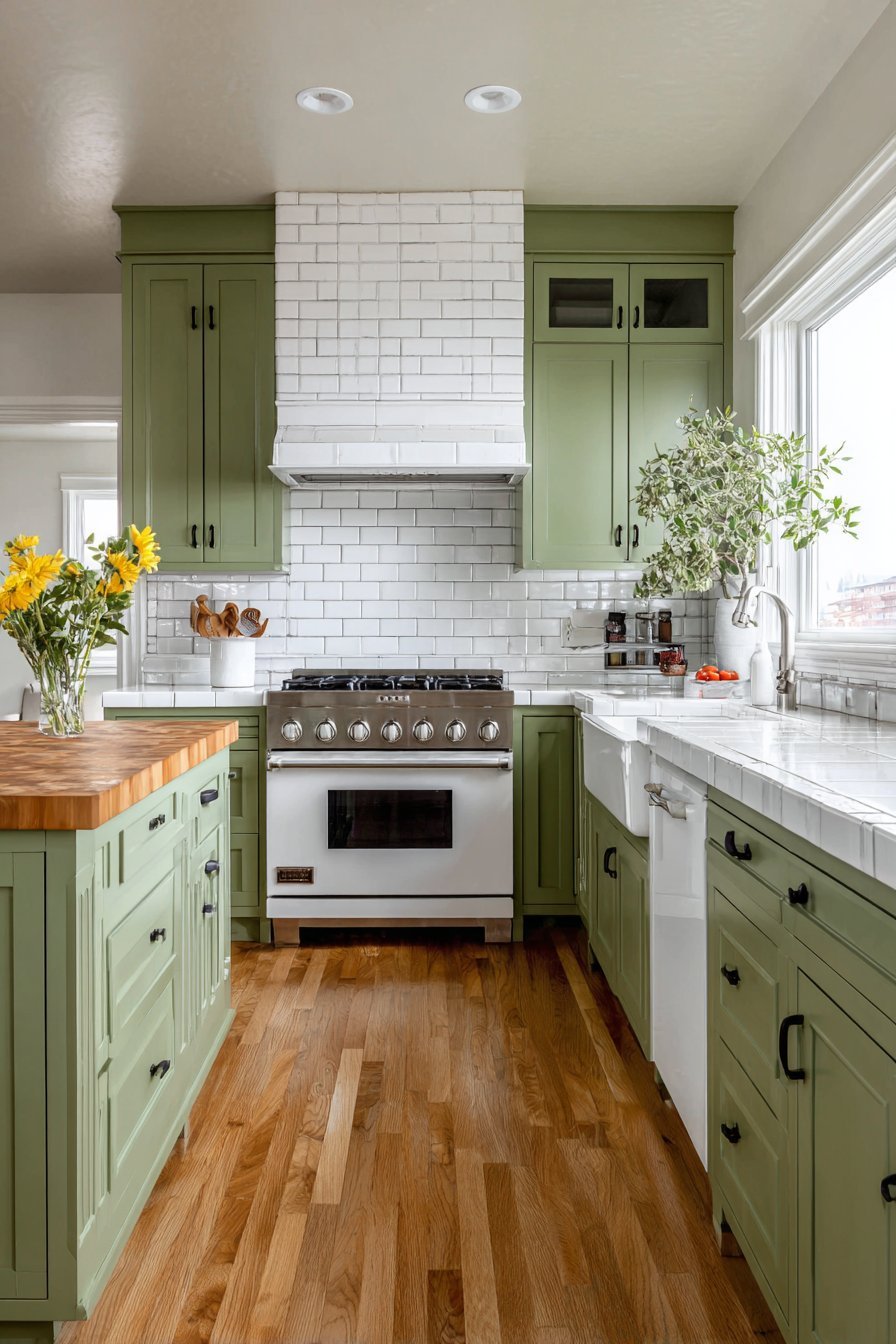
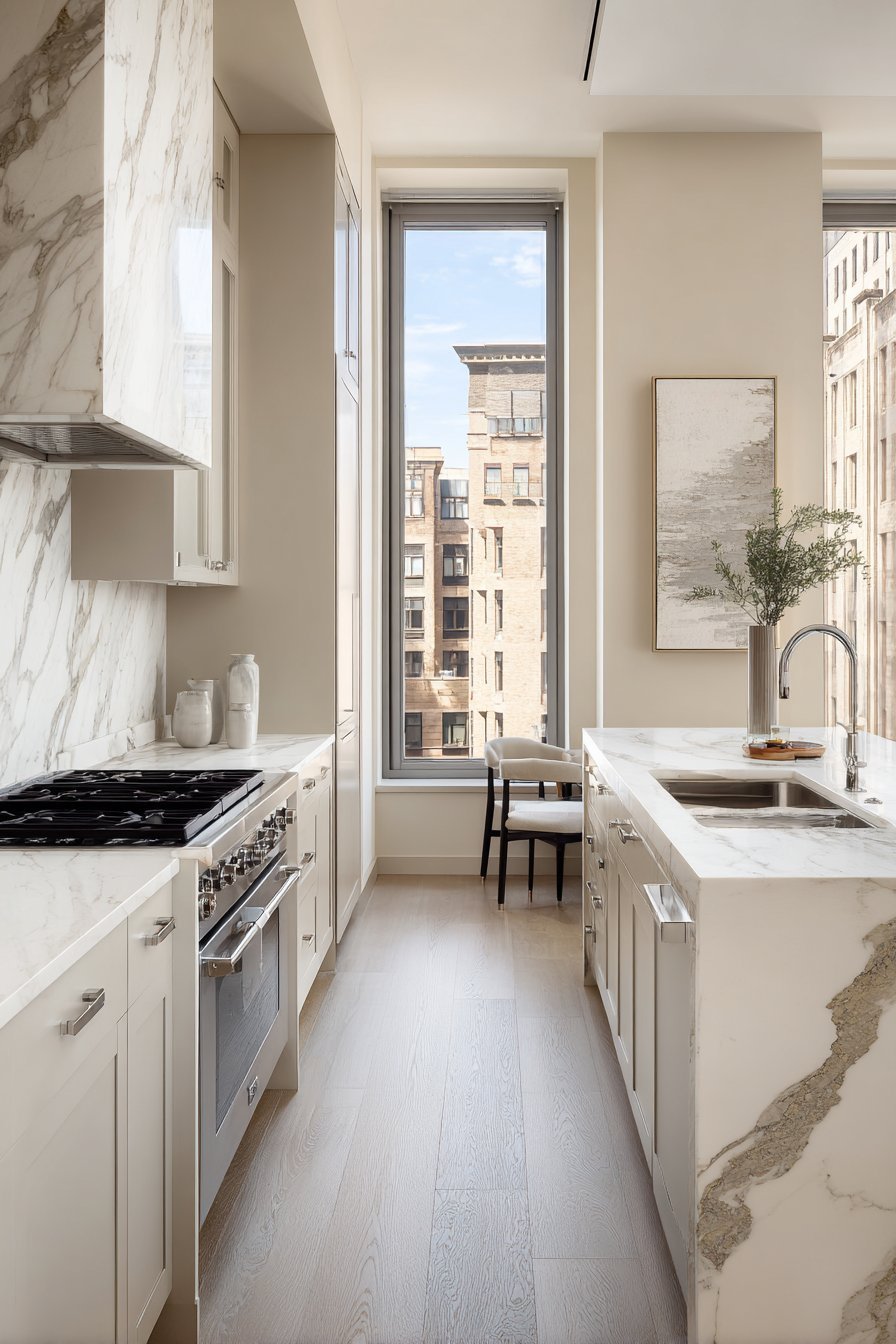
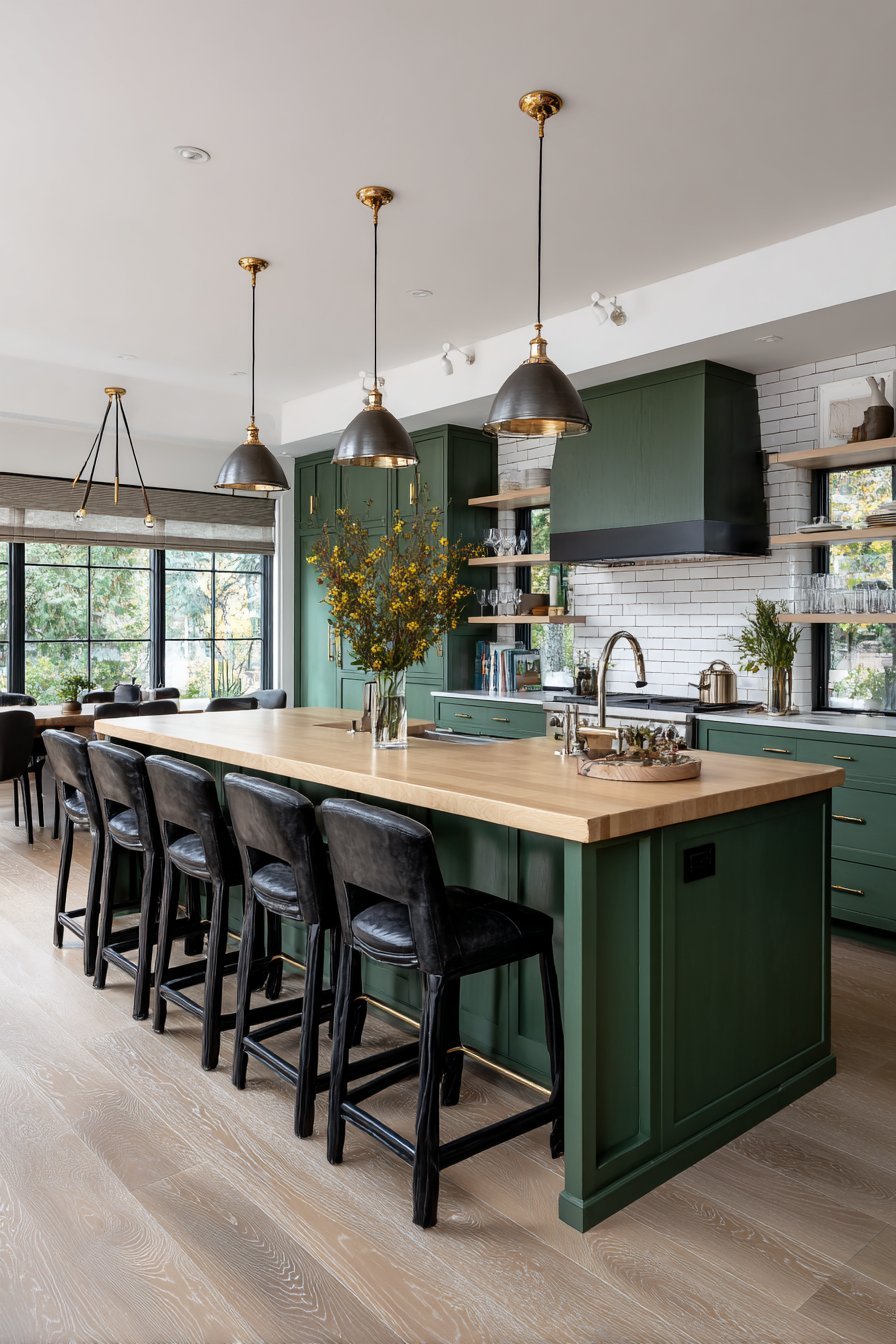
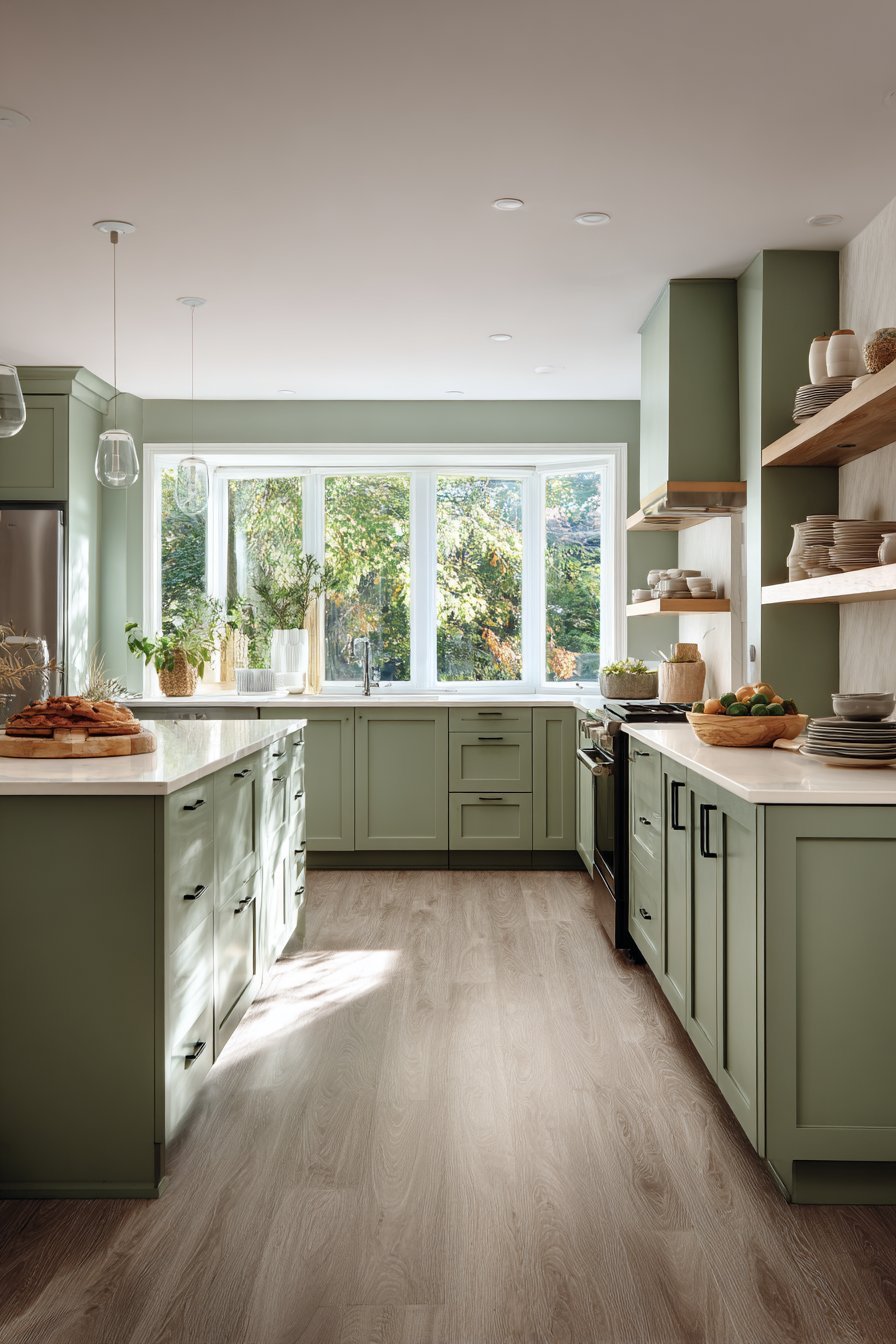
Oak cabinets with their distinctive grain pattern and golden-orange hue define 80s kitchens more than any other feature. Rather than replacing these structurally sound cabinets, painting or refinishing them offers a dramatic transformation at a fraction of the cost. Modern kitchens embrace soft whites, warm grays, and sage greens that create a fresh, contemporary backdrop.

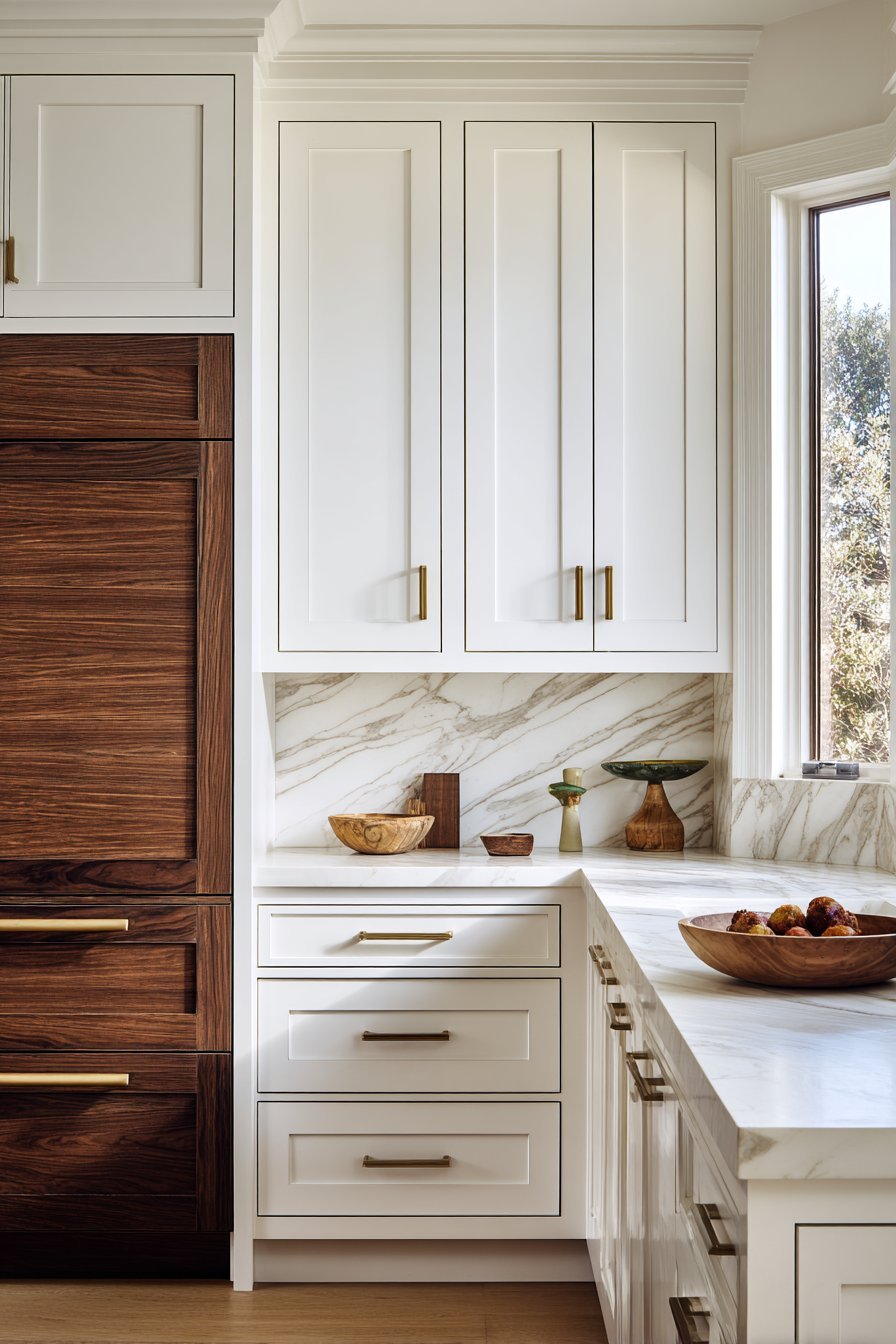
The refinishing process requires proper preparation but delivers professional results. Start by removing cabinet doors and hardware, then thoroughly clean all surfaces to eliminate grease buildup. Sanding is crucial—it creates the texture necessary for paint adhesion while softening the pronounced oak grain. Apply a high-quality primer designed for wood surfaces, followed by two coats of durable cabinet paint. For a more natural look, consider staining cabinets in darker, cooler tones like walnut or espresso that feel more current and sophisticated than the original honey oak.

Beyond color changes, updating cabinet hardware dramatically affects the overall aesthetic. Replacing dated brass pulls with matte black, brushed nickel, or champagne gold fixtures costs minimal money but delivers maximum impact. Consider modern profiles like sleek bar pulls or minimalist knobs that complement your new cabinet color.
- Remove all doors, drawers, and hardware before beginning any refinishing work
- Use a deglosser or TSP cleaner to eliminate grease and create a clean surface
- Apply thin, even coats of paint rather than one thick application for better durability
- Allow adequate drying time between coats—rushing compromises the final finish
- Invest in quality brushes or a paint sprayer for a smooth, factory-like appearance
- Label cabinet doors and their corresponding locations to simplify reinstallation
2. Replace Laminate Countertops with Budget-Friendly Alternatives
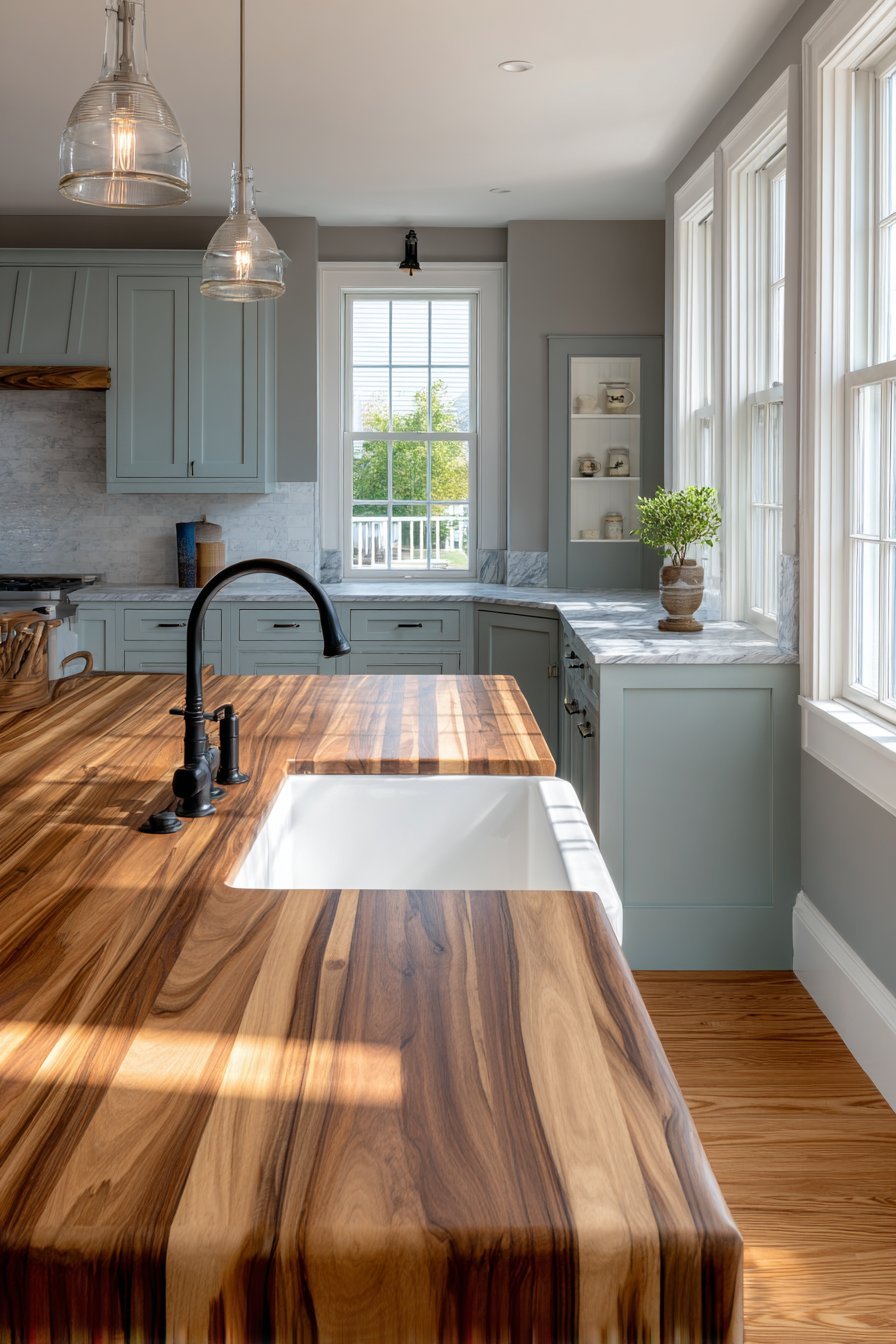
Laminate countertops in busy patterns or outdated colors instantly date a kitchen. While natural stone and quartz remain popular, several affordable alternatives deliver modern aesthetics without premium price tags. Butcher block, concrete, and updated laminate options provide fresh surfaces that transform your kitchen’s entire appearance.
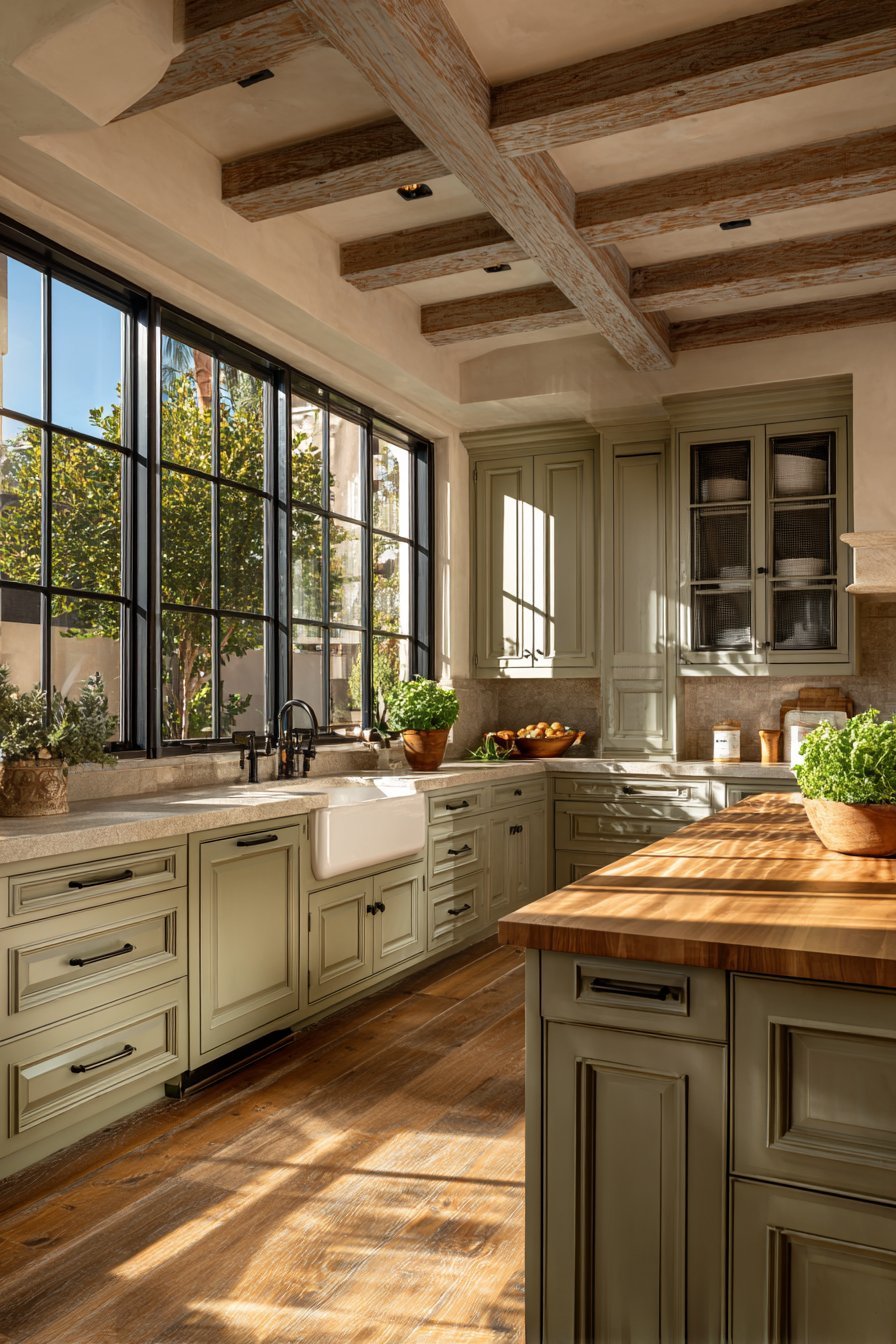
Butcher block countertops offer warmth and character at approximately $40-70 per square foot installed. This natural material complements both modern farmhouse and contemporary styles while providing a durable work surface. Regular oiling maintains the wood’s beauty and protects against moisture. For even greater savings, consider installing butcher block yourself—many home improvement stores offer pre-cut sections that simplify the process.
Modern laminate has evolved significantly since the 80s. Today’s options feature realistic stone and wood patterns with improved durability and sleeker edge profiles. At $20-50 per square foot, contemporary laminate provides a budget-conscious solution that doesn’t sacrifice style. Concrete countertops, whether poured in place or using concrete overlay products, create an industrial-chic aesthetic for $50-100 per square foot when DIY installation is employed.
- Measure your countertop area accurately before purchasing materials to avoid waste
- Consider mixing materials—use butcher block on an island with laminate on perimeter counters
- Explore remnant sections at stone yards for small areas like breakfast bars
- Use peel-and-stick contact paper as a temporary solution while saving for permanent upgrades
- Research local fabricators who may offer discounted rates for simple installations
- Factor in edge treatments and backsplash when calculating total project costs
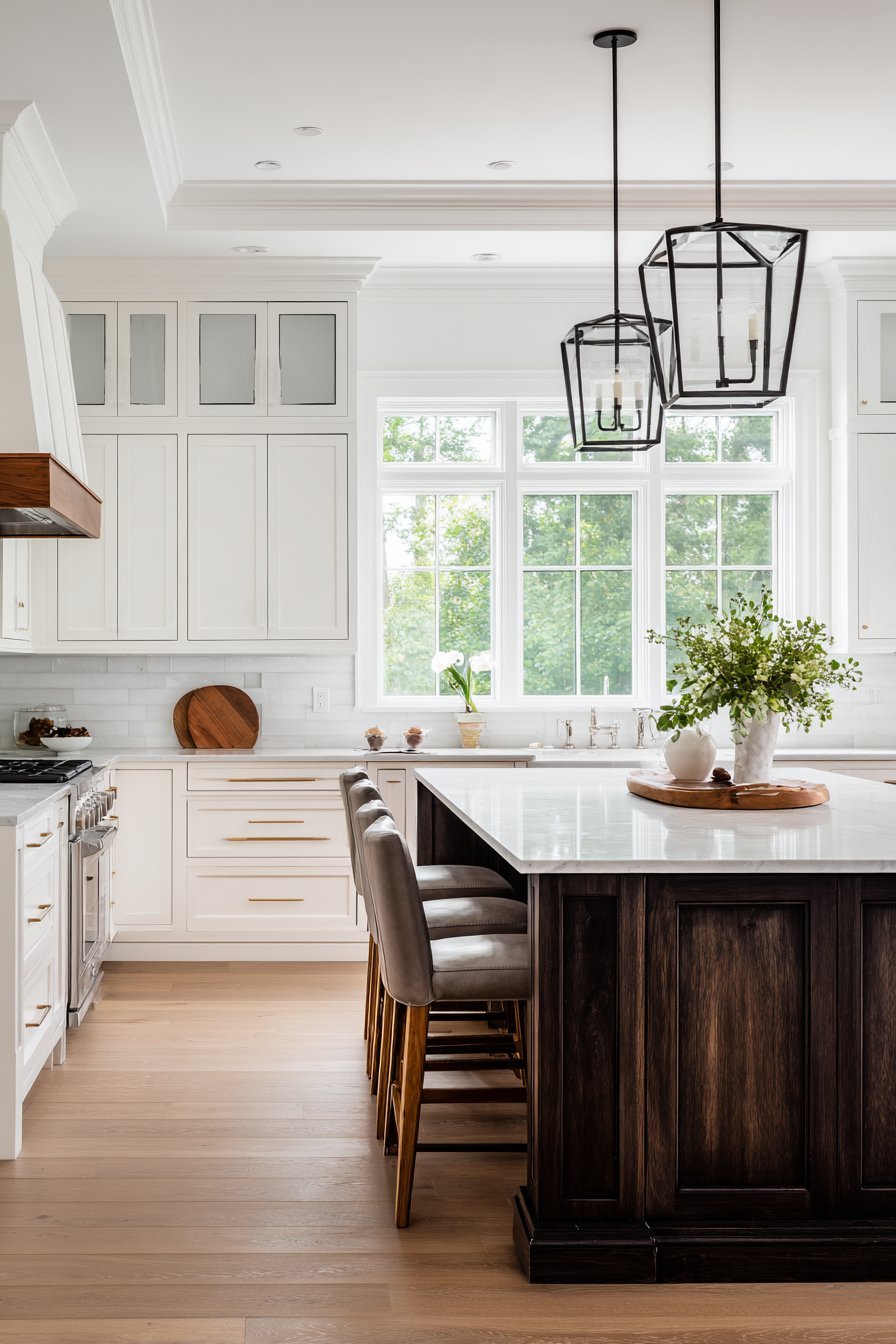
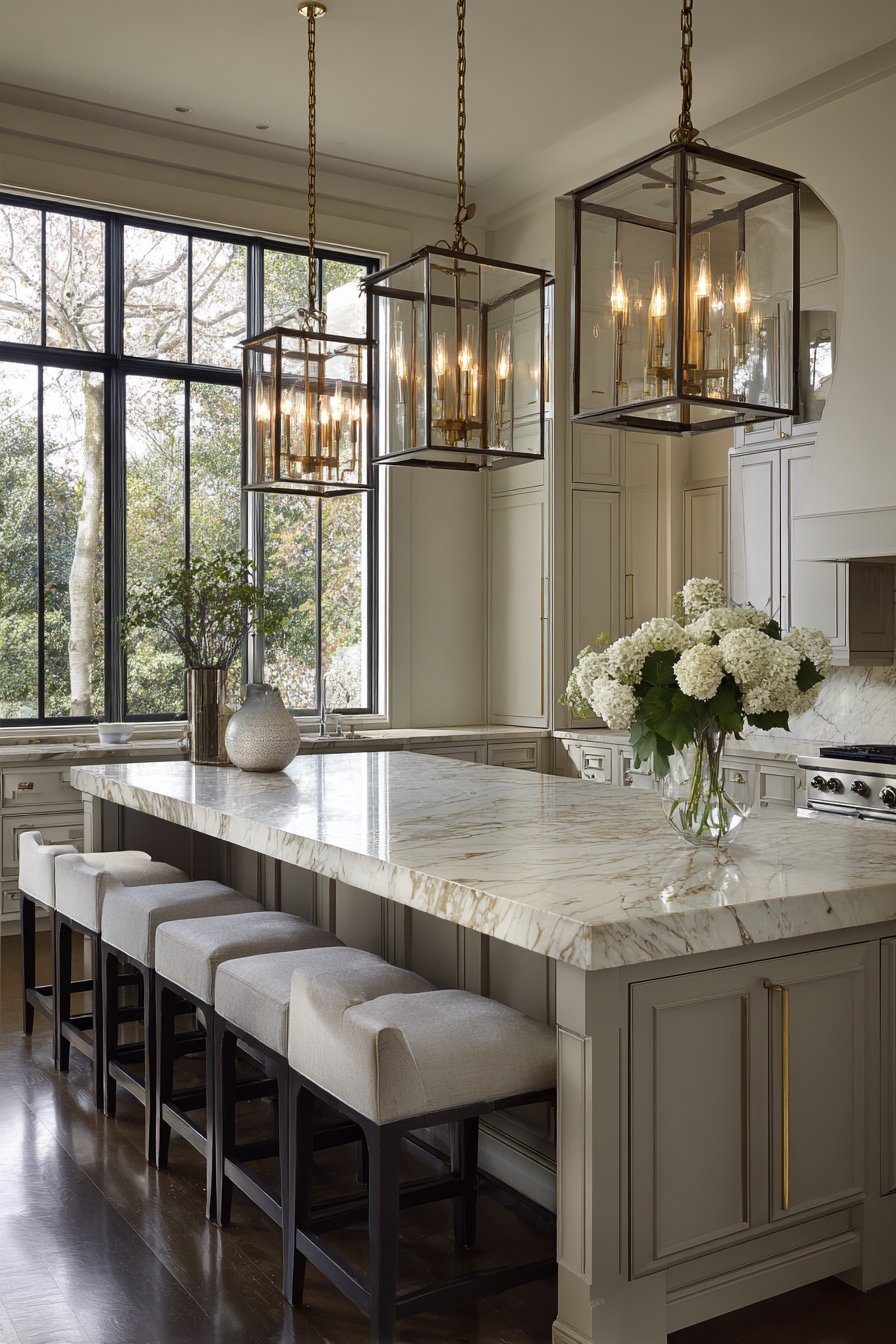
3. Update Lighting Fixtures for Contemporary Appeal
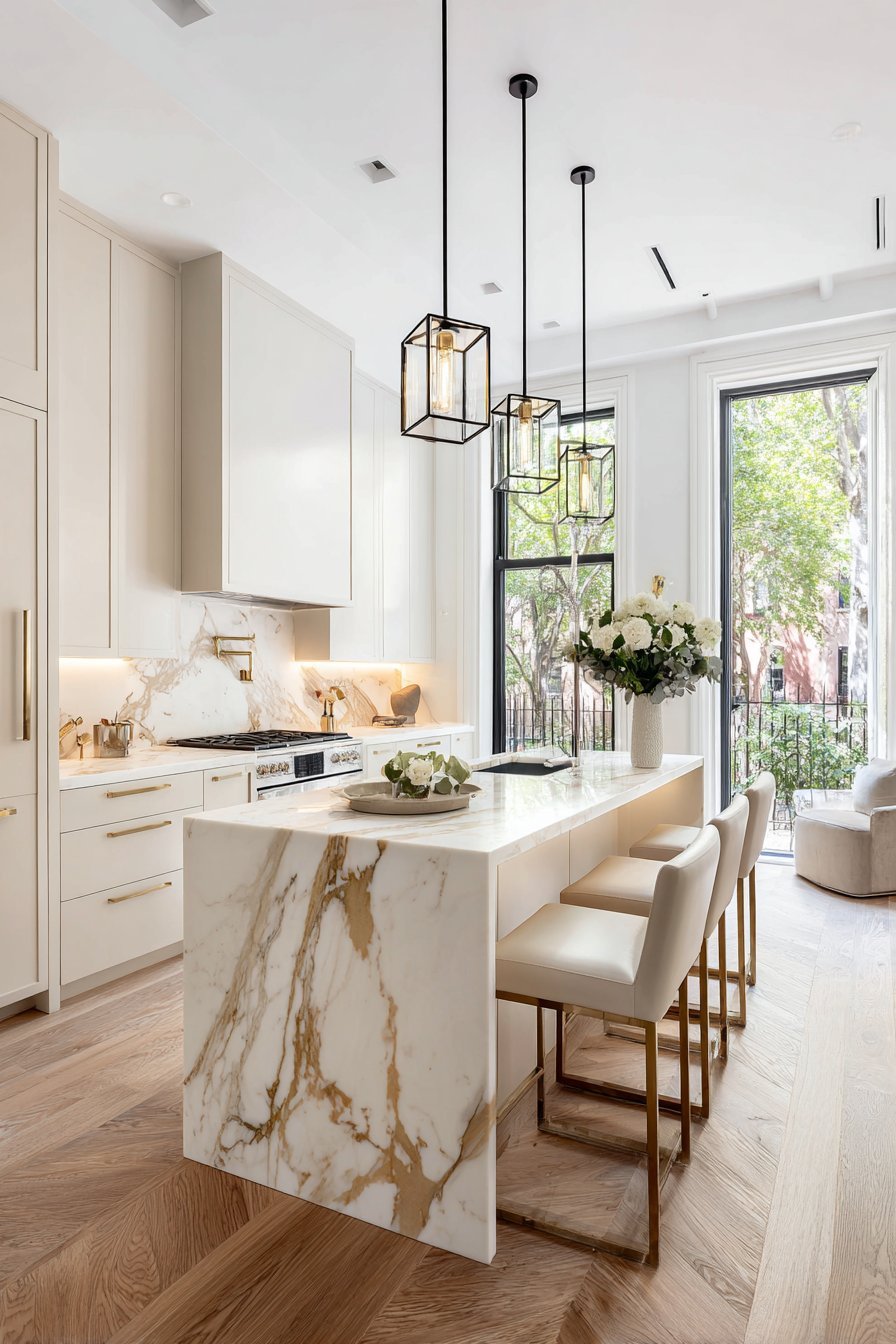
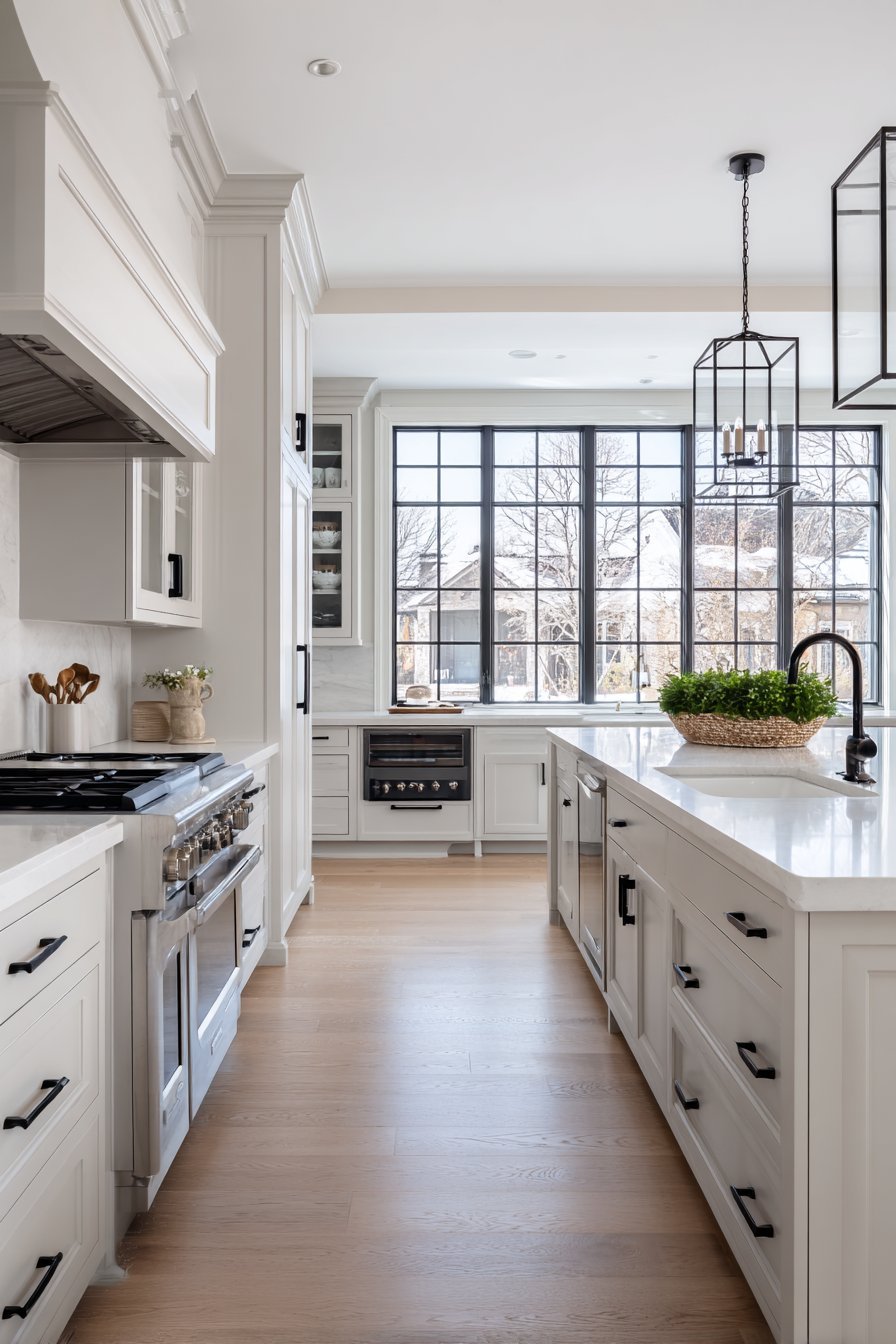
Fluorescent box lights and brass chandeliers scream 1980s more effectively than almost any other element. Modern lighting embraces clean lines, mixed metals, and layered illumination that combines ambient, task, and accent sources. Replacing outdated fixtures creates immediate visual impact while improving functionality and energy efficiency.
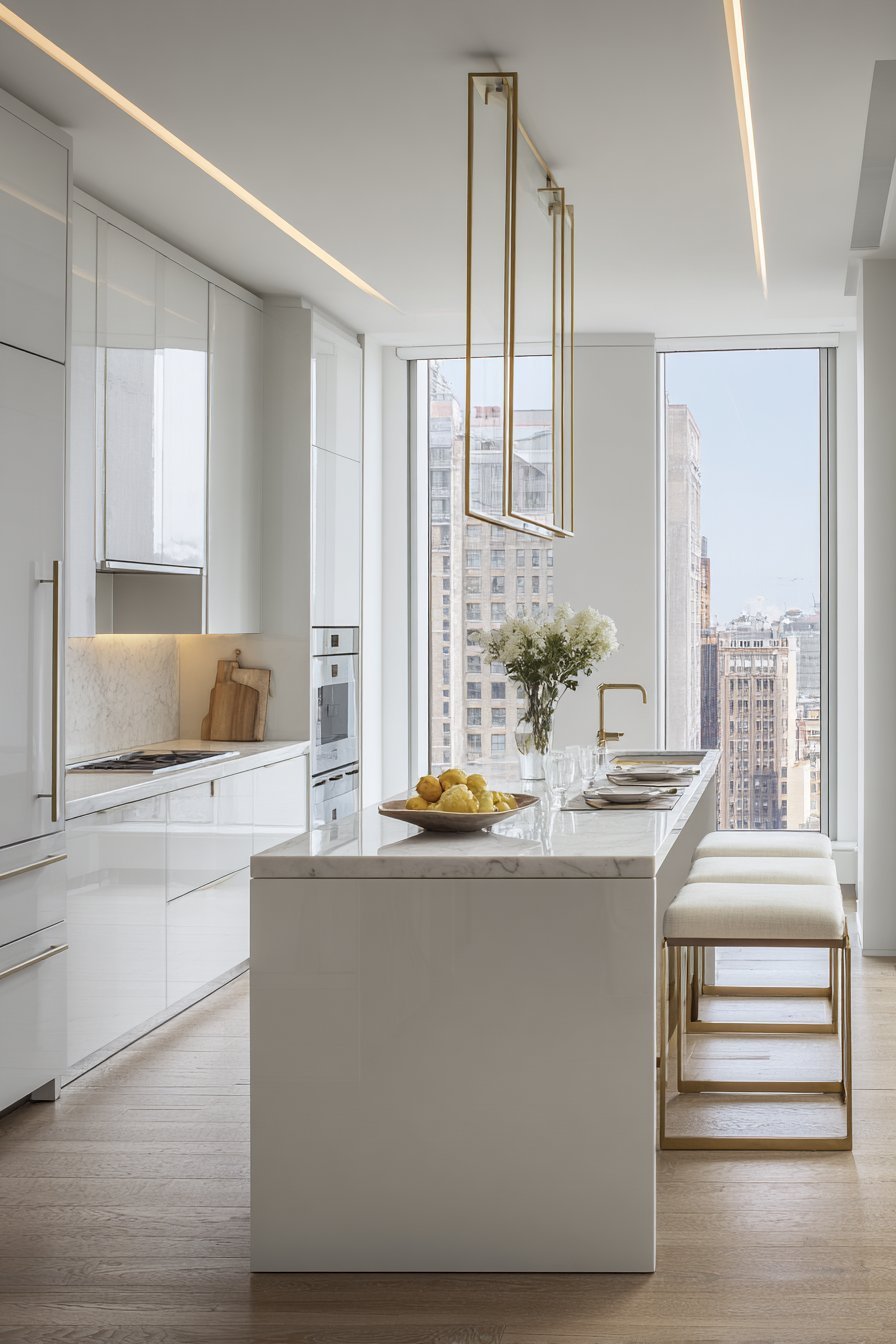
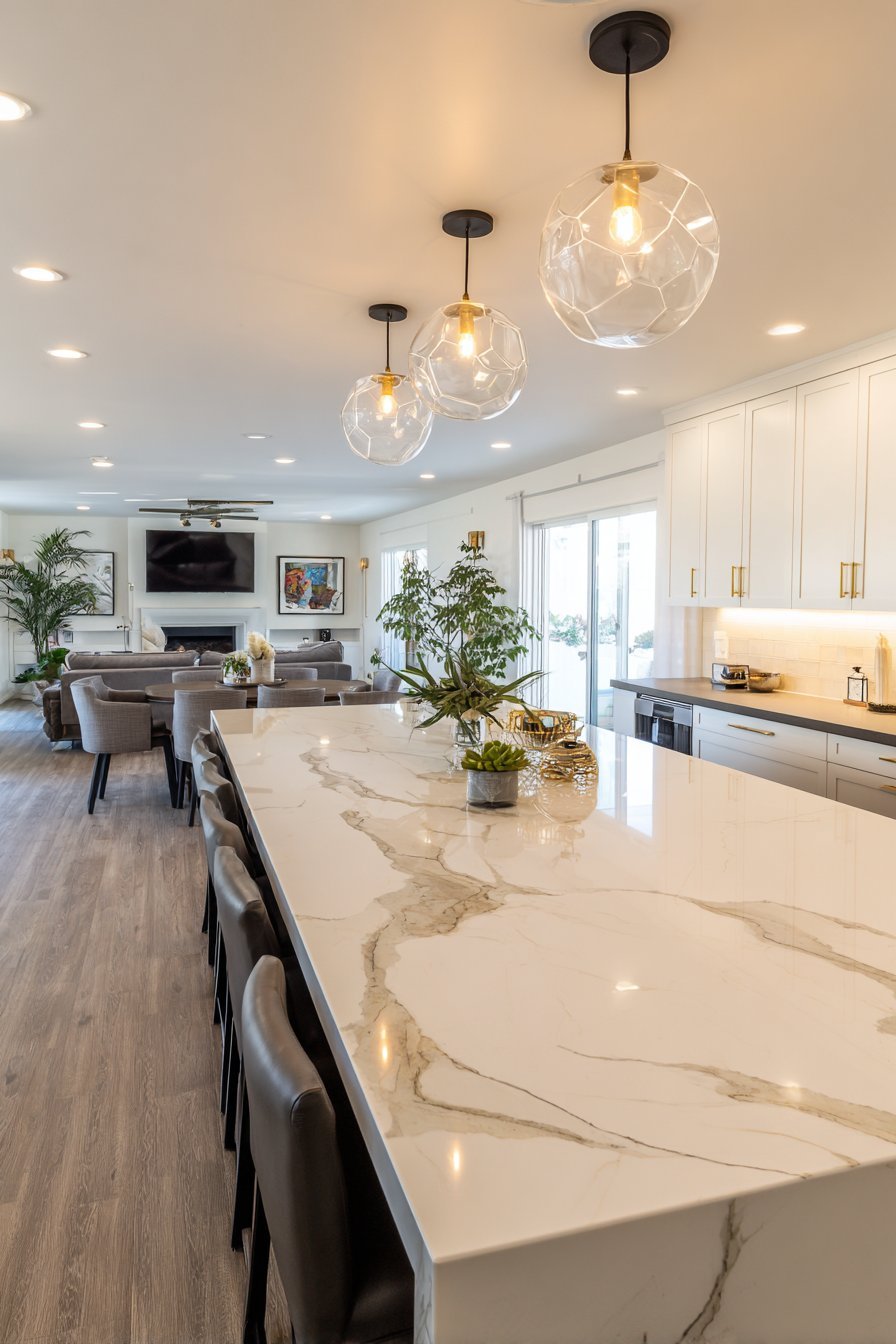
Pendant lights over islands or breakfast bars serve as focal points while providing essential task lighting. Choose fixtures in matte black, brushed nickel, or mixed metal finishes that coordinate with your updated hardware. Glass globes, geometric shapes, and industrial-inspired designs align with current trends without appearing overly trendy. Under-cabinet LED lighting strips illuminate work surfaces beautifully while adding a modern touch—these cost-effective additions install easily and consume minimal energy.

Recessed lighting replaces dated fluorescent boxes with a clean, streamlined appearance. While professional installation may be required for new electrical work, many homeowners can replace existing recessed cans with updated trim rings and LED bulbs. Consider dimmer switches that allow you to adjust lighting levels for different activities and times of day, adding both functionality and ambiance to your modernized space.
- Replace fluorescent bulbs with LED alternatives before investing in new fixtures
- Install dimmer switches on all lighting circuits for maximum flexibility
- Choose fixtures that complement your cabinet hardware finish for cohesive design
- Add under-cabinet lighting in sections to spread out costs over time
- Consider battery-operated LED strips as a budget-friendly temporary solution
- Focus on the most visible fixtures first—pendants and chandeliers have greatest impact
4. Install a Tile or Painted Backsplash
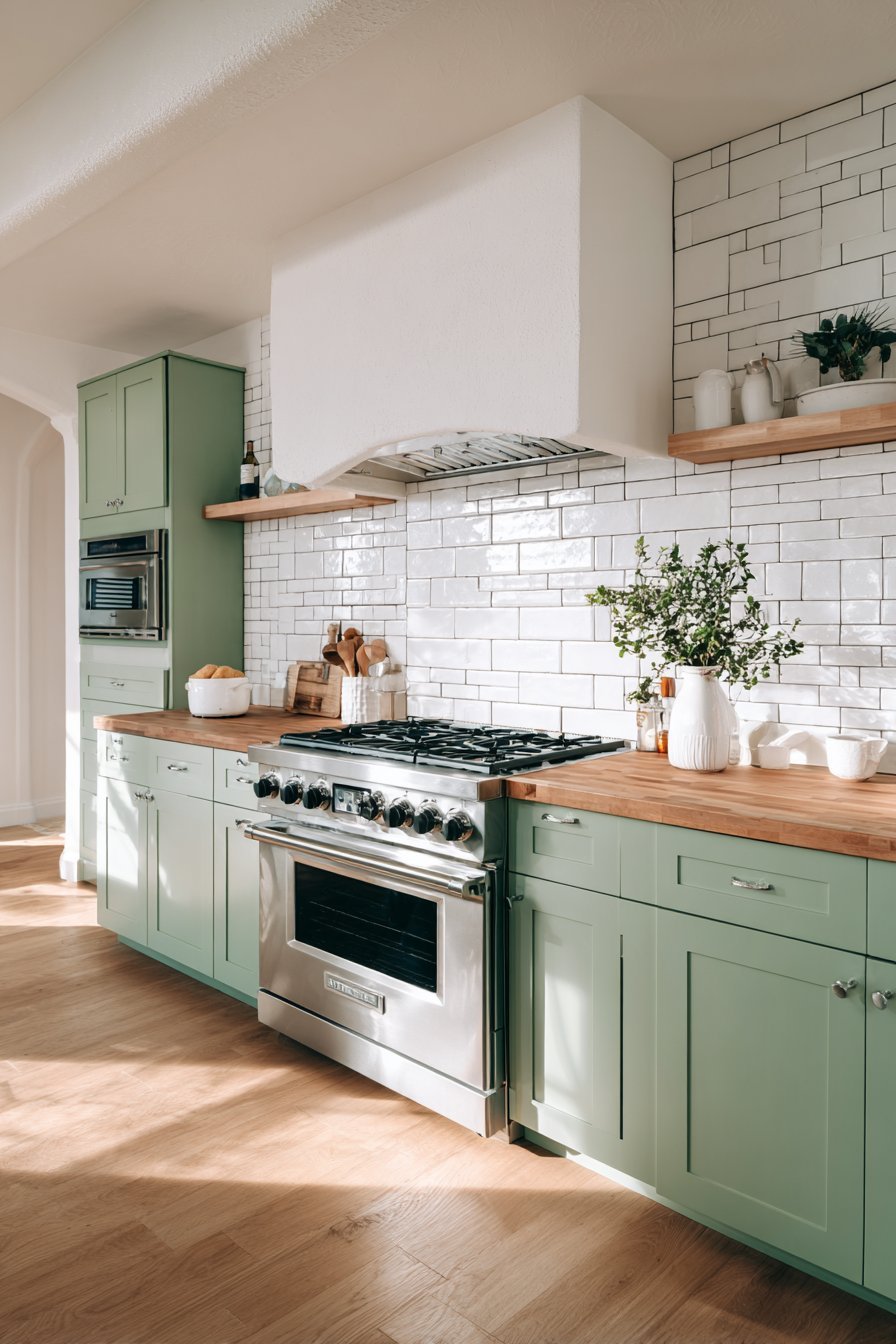
The original laminate backsplash or simple painted drywall common in 80s kitchens offers a prime opportunity for affordable transformation. A new backsplash creates a focal point while protecting walls from cooking splashes and moisture. Subway tile, peel-and-stick options, and even painted treatments provide modern updates at various price points.

Classic white subway tile remains a timeless choice that complements virtually any design style. At $1-3 per square foot for materials, this option delivers professional results when installed DIY. For even greater savings, consider peel-and-stick backsplash tiles that require no mortar, grout, or special tools. These products have improved dramatically in quality and now offer realistic appearances that rival traditional installations at a fraction of the cost and effort.
Painted backsplashes using high-gloss or semi-gloss paint provide the most budget-friendly option. Choose a color that coordinates with your cabinets and countertops—soft gray, sage green, or even bold navy can create stunning contrast. For added protection, apply a clear polyurethane sealer over the painted surface. Stenciled patterns or geometric designs add visual interest without requiring tile installation skills.
- Start with a small area like behind the stove to test materials and techniques
- Use tile spacers and a level to ensure straight, professional-looking installations
- Choose colors and patterns that will remain appealing for years to come
- Consider larger format tiles to minimize grout lines and installation time
- Prep walls properly by cleaning and repairing any damage before installation
- Watch online tutorials specific to your chosen material for best results
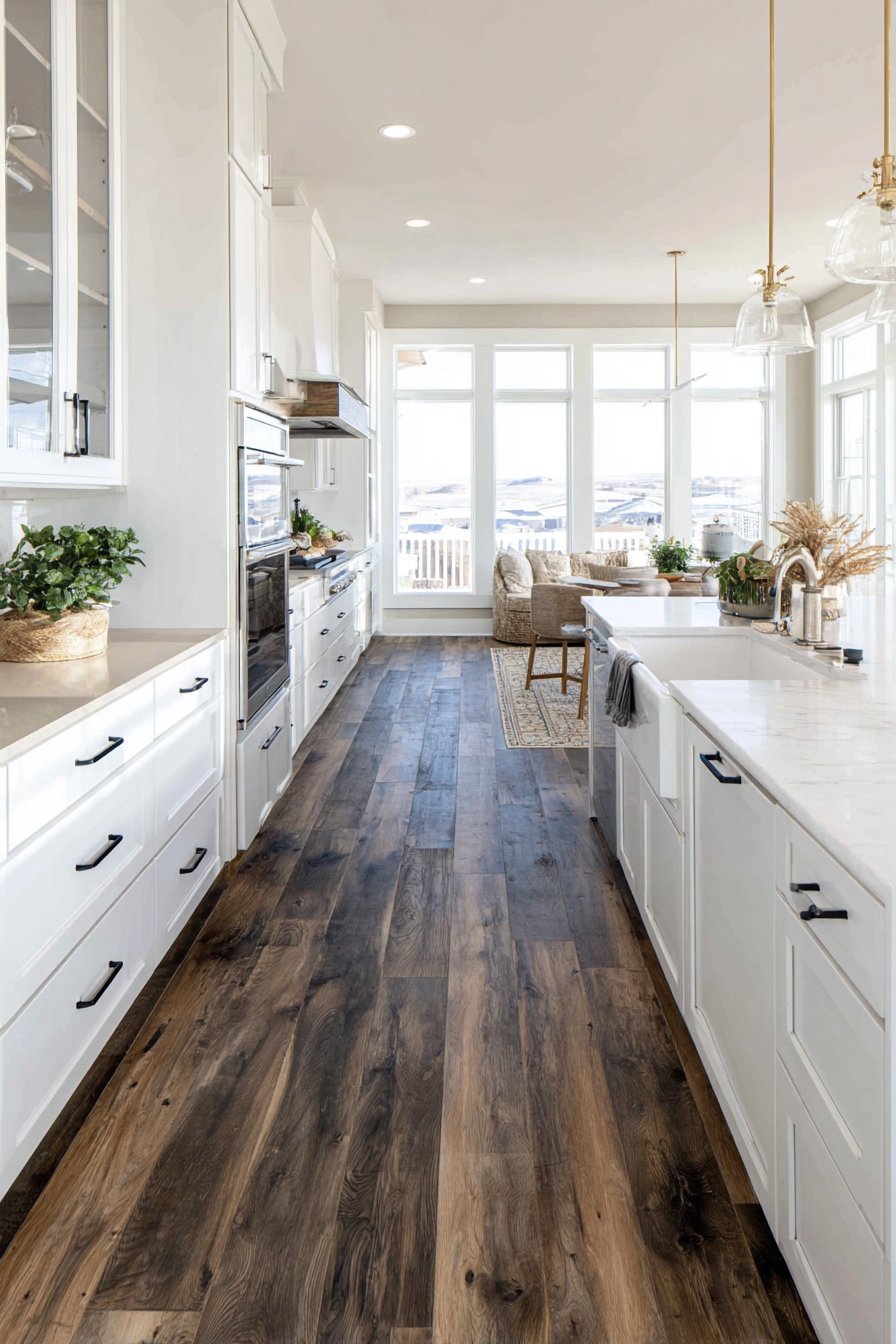
5. Replace Outdated Flooring

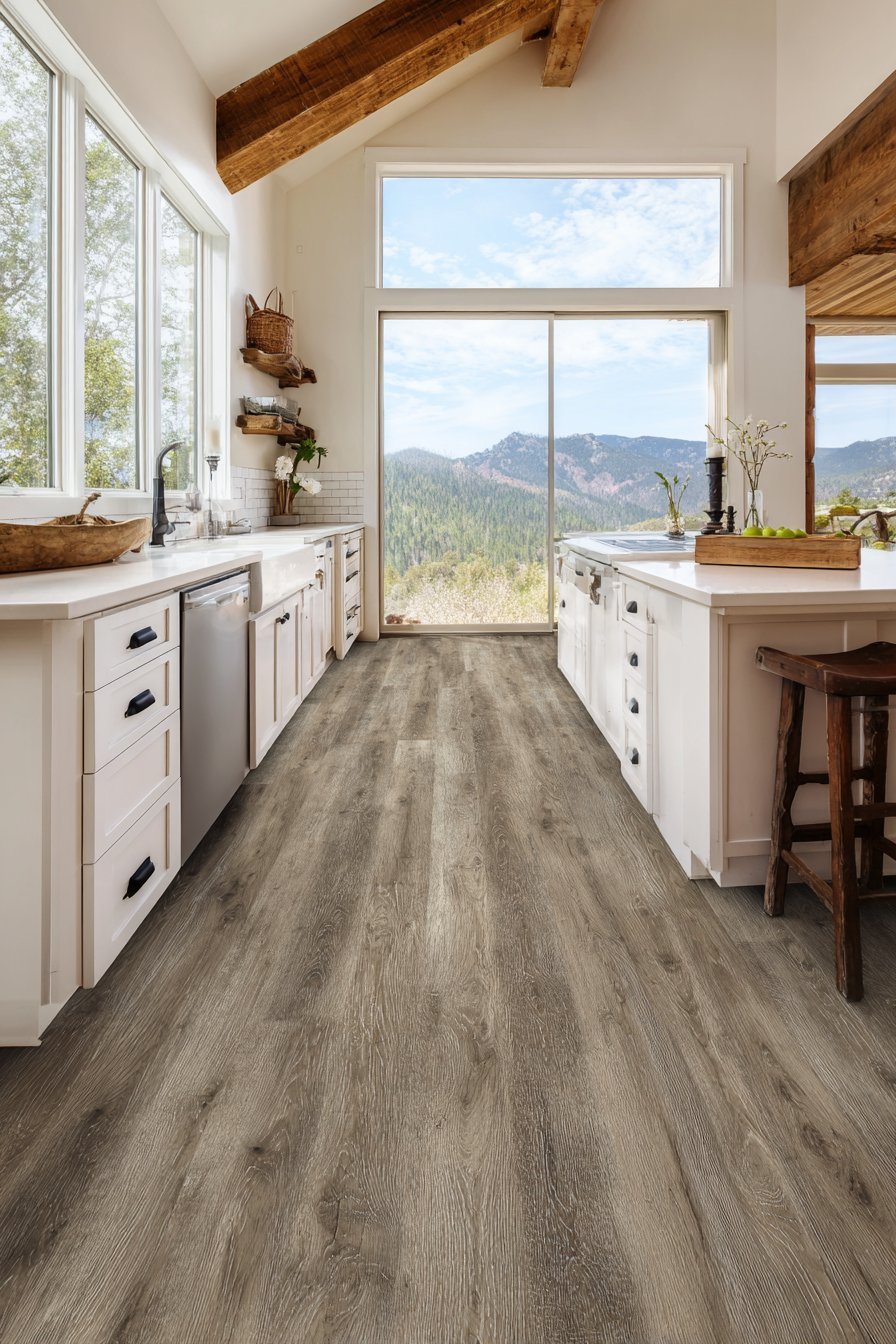
Worn vinyl flooring, dated ceramic tile, or deteriorating linoleum undermines even the most thoughtful kitchen updates. Modern flooring options balance durability, aesthetics, and affordability while dramatically changing a space’s character. Luxury vinyl plank, peel-and-stick tiles, and updated sheet vinyl offer budget-conscious solutions that mimic expensive materials convincingly.
Luxury vinyl plank (LVP) flooring has revolutionized budget kitchen renovations. At $2-7 per square foot, LVP replicates hardwood’s appearance with waterproof, scratch-resistant performance. Click-lock installation systems allow confident DIYers to complete projects over a weekend without professional help. Choose wider planks in gray or natural wood tones that align with contemporary aesthetics while disguising minor imperfections.
For the most economical option, consider peel-and-stick vinyl tiles that cost $1-3 per square foot. Today’s products feature realistic stone and ceramic patterns that far surpass the obvious fakes of previous decades. Proper subfloor preparation ensures these tiles adhere correctly and last for years. If your existing floor is relatively smooth and clean, peel-and-stick tiles can be installed directly over it, further reducing costs and labor.
- Remove existing flooring if it’s damaged or uneven for best results
- Allow new flooring materials to acclimate in the room for 24-48 hours before installation
- Start installation from the center of the room and work outward for balanced appearance
- Invest in quality underlayment if installing floating floor systems for comfort and longevity
- Consider professional installation for the main floor while DIYing in smaller adjacent spaces
- Choose neutral colors that coordinate with multiple design styles for longevity
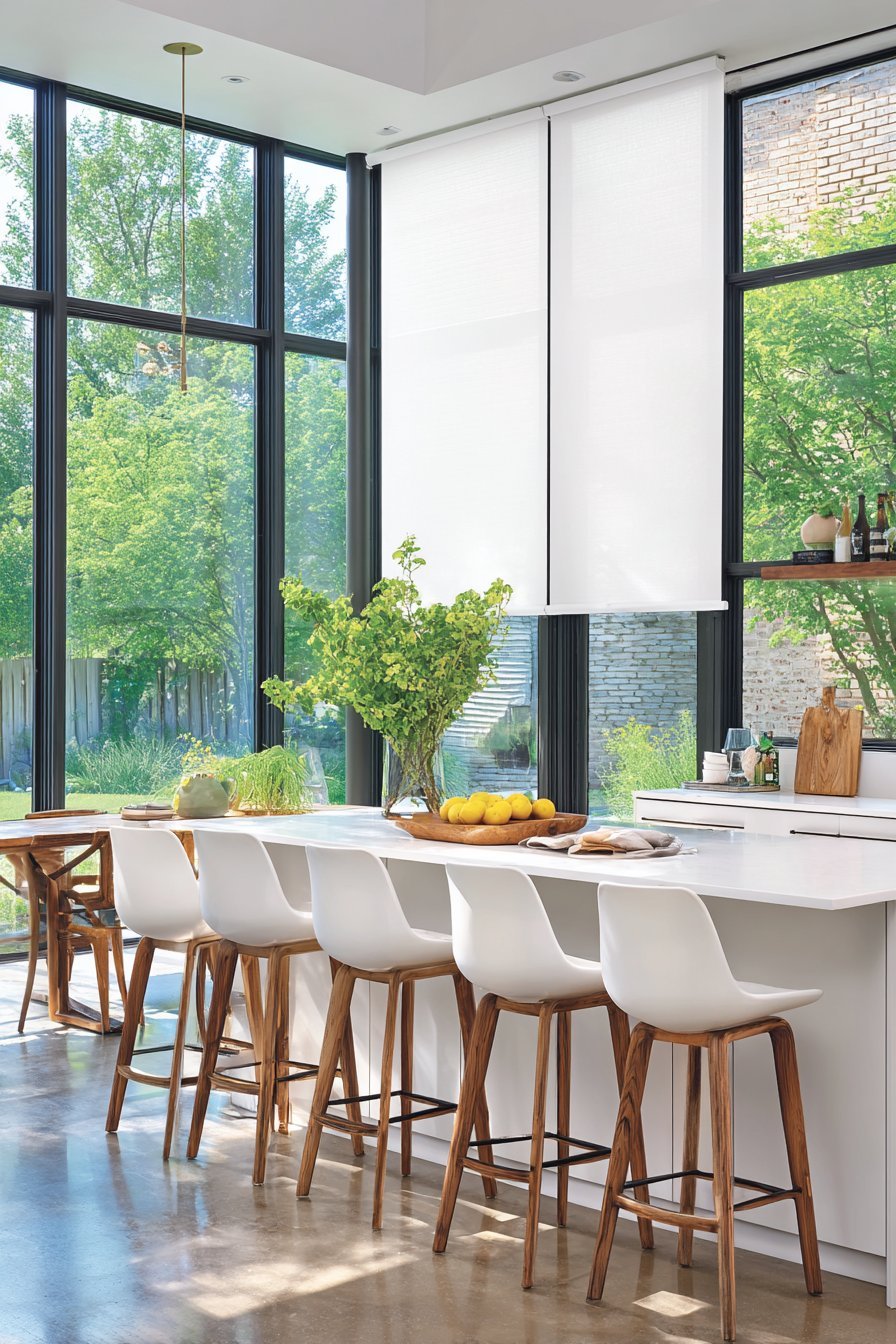
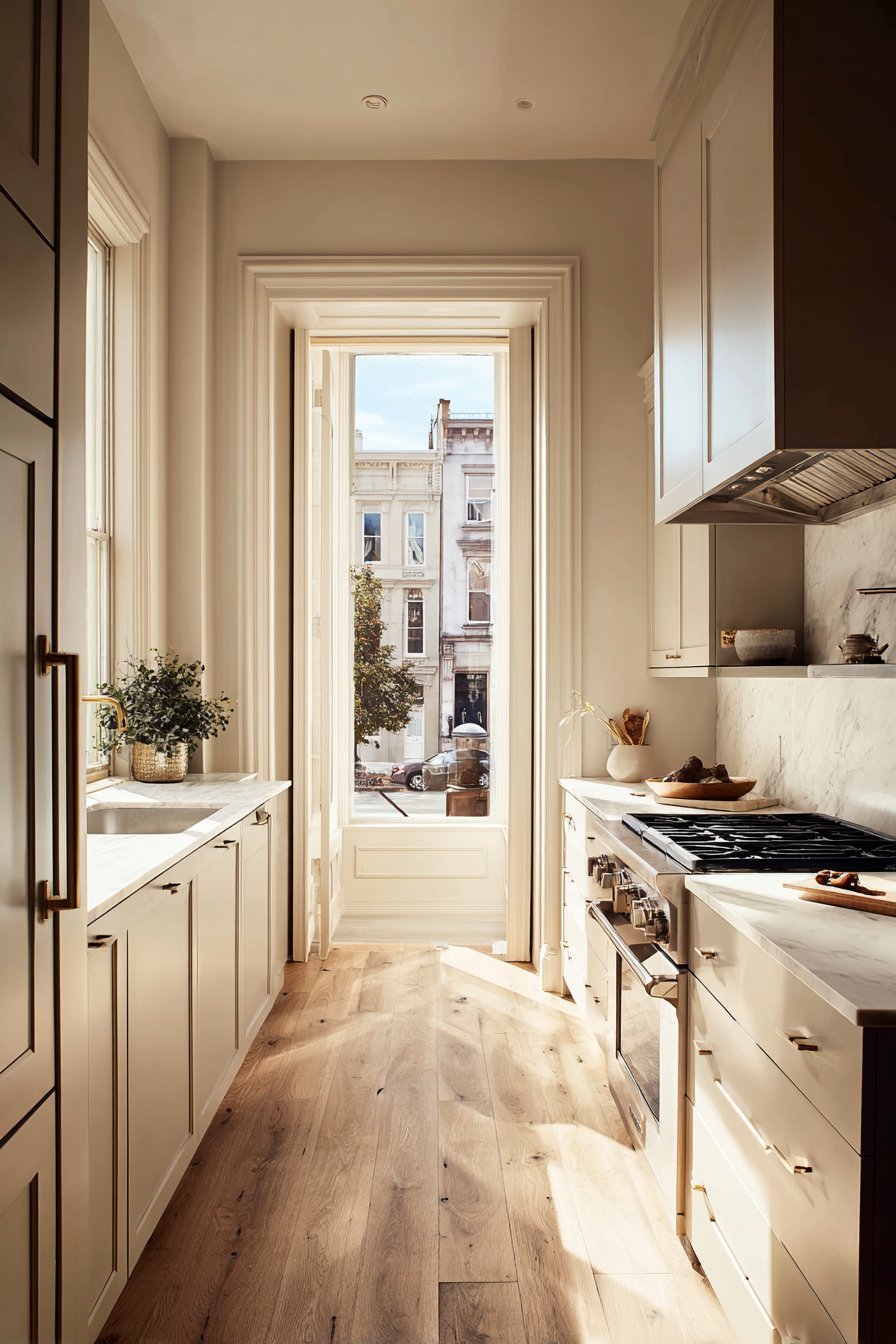
6. Update or Remove Outdated Window Treatments
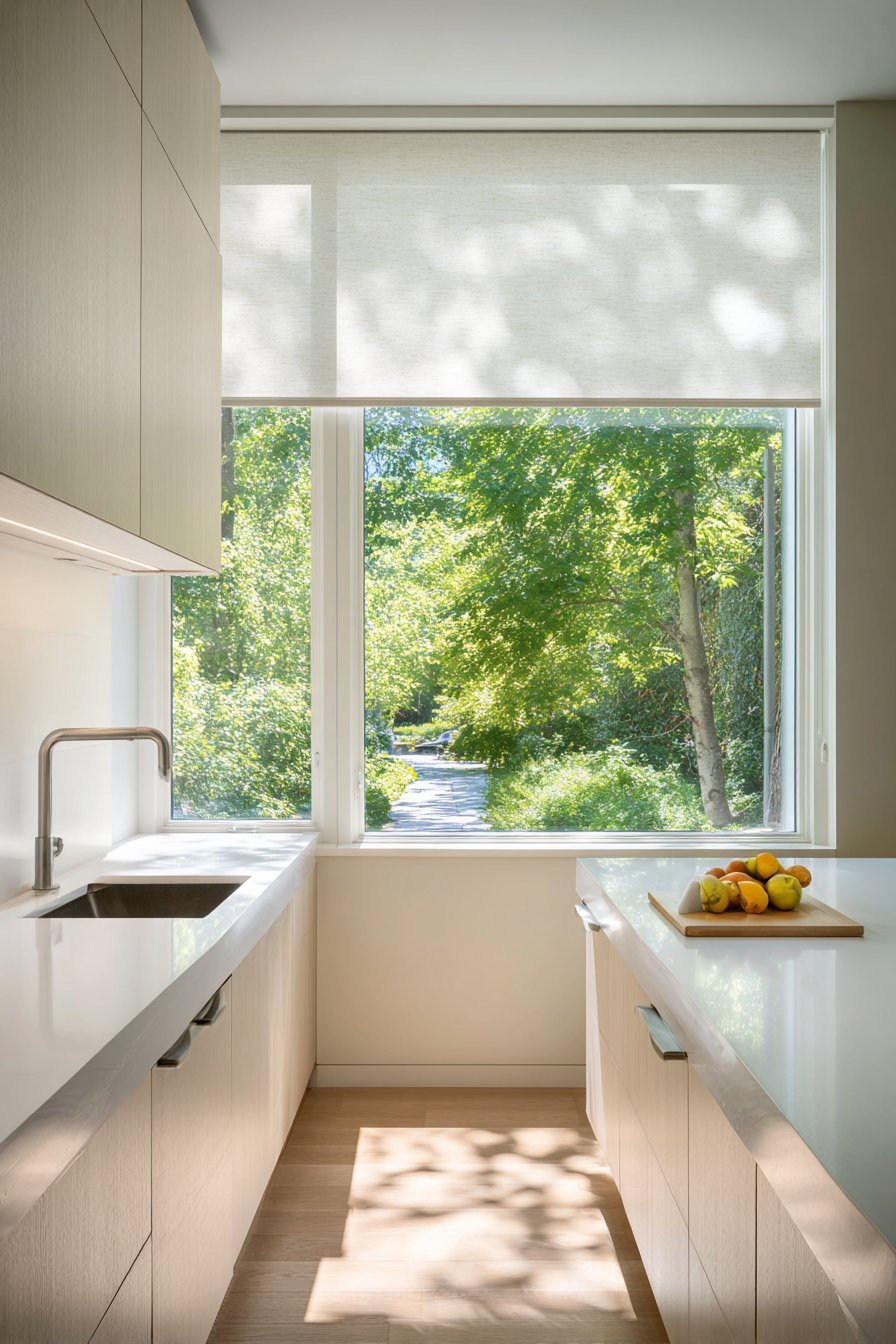
Heavy valances, ruffled café curtains, and vertical blinds dominated 80s kitchen windows. Modern design favors clean, simple treatments that maximize natural light while providing necessary privacy and light control. Removing or replacing these dated elements opens up the space visually and aligns with contemporary minimalism.
For kitchens with attractive views or privacy from neighbors, consider eliminating window treatments entirely. This maximalist approach to natural light creates an open, airy feeling while reducing visual clutter. If privacy or light control is necessary, install simple roller shades in white or soft gray that disappear when raised. These cost $20-50 per window and install easily with basic tools.
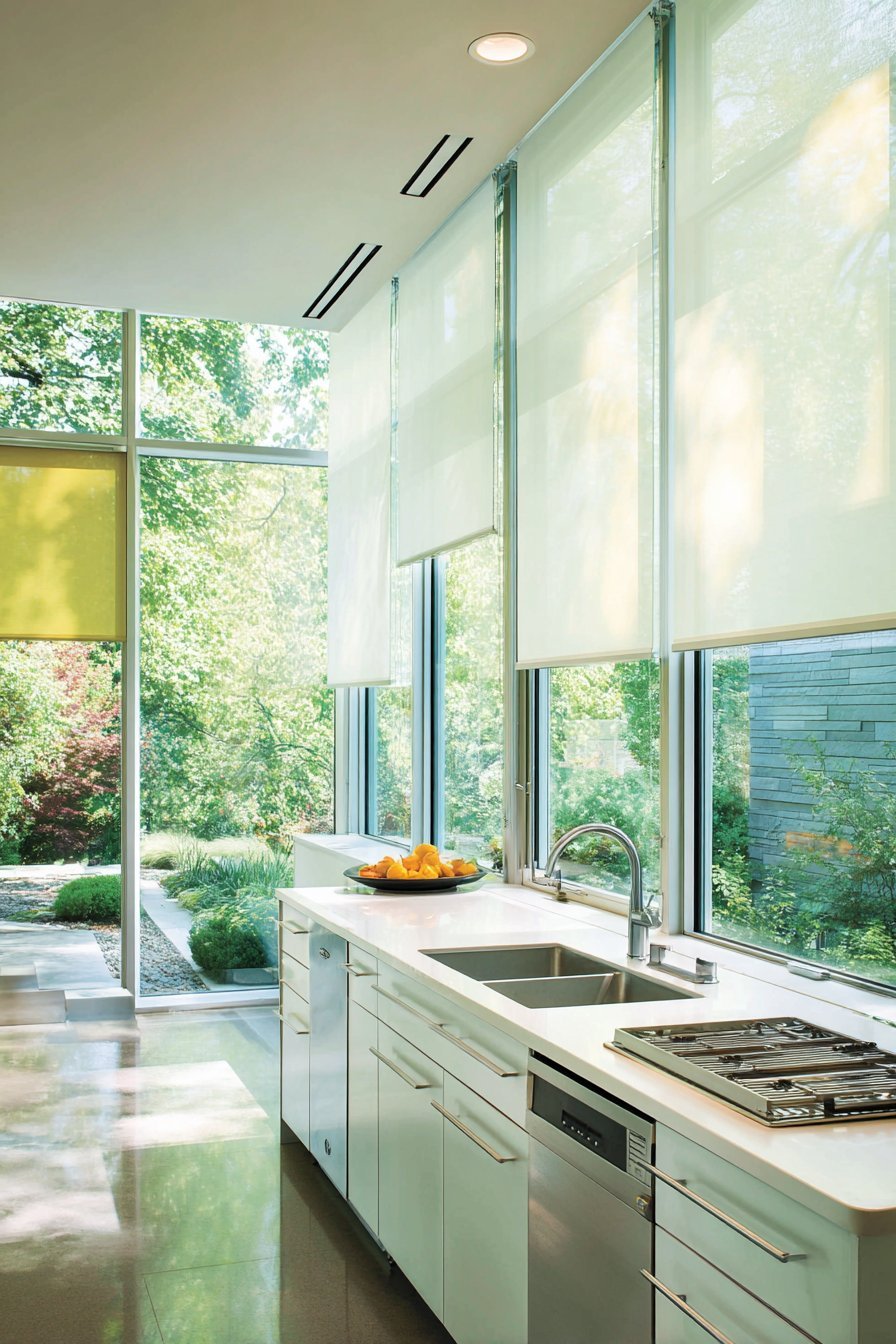
Roman shades in neutral linen or cotton fabrics provide a soft, tailored appearance that suits transitional and traditional styles. For a more modern edge, consider panel track blinds or horizontal wood blinds in light finishes that coordinate with your updated cabinets. Avoid heavy drapes and busy patterns—today’s aesthetic celebrates simplicity and light rather than elaborate fabric treatments.
- Remove all existing hardware and fill holes before installing new treatments
- Choose cordless options for safety and cleaner appearance
- Measure windows accurately—inside mount vs. outside mount affects final appearance
- Consider window film for privacy without blocking light in certain situations
- Match metal finishes on hardware to cabinet pulls and lighting fixtures
- Keep treatments simple and neutral to avoid dating your kitchen again
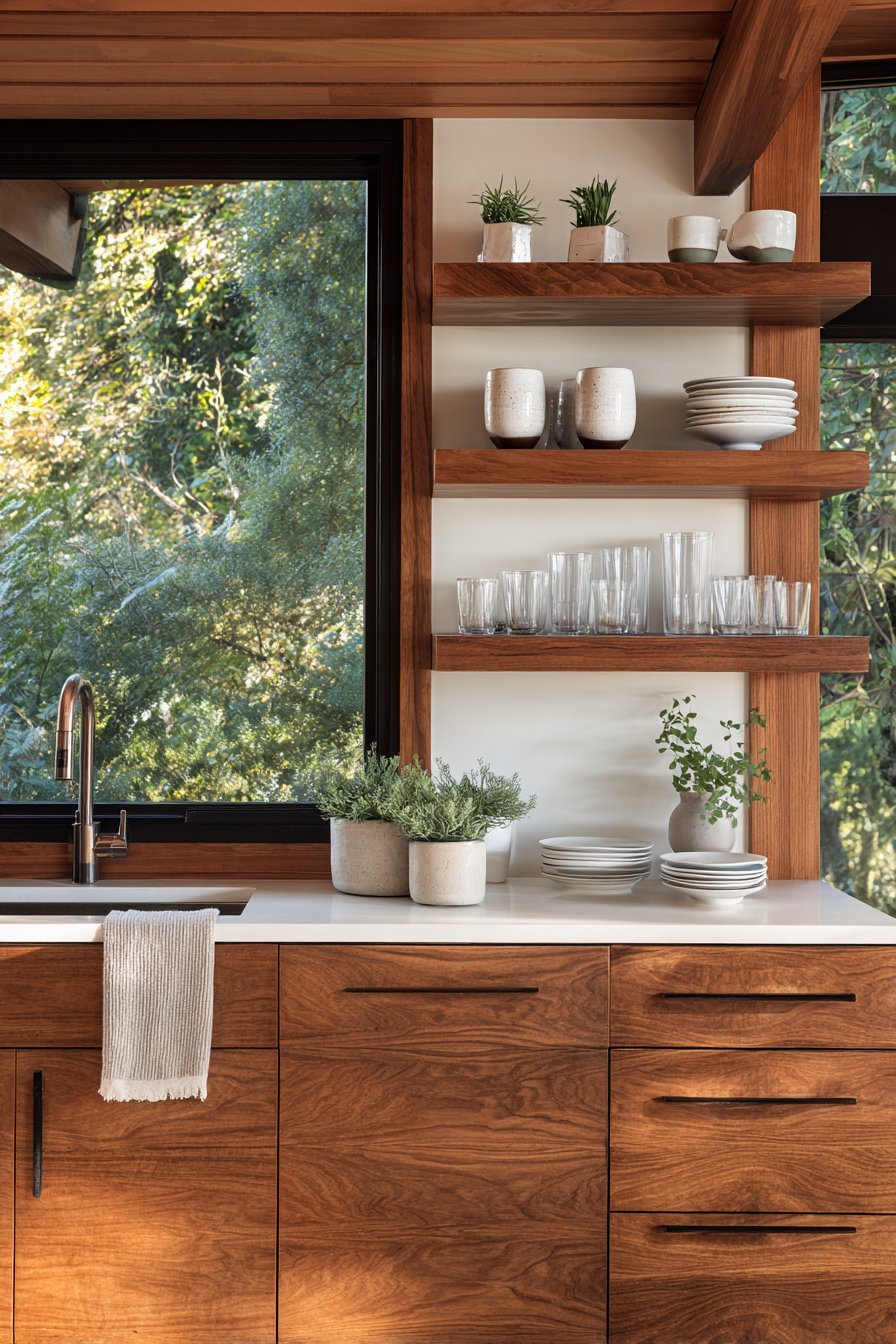
7. Incorporate Open Shelving Strategically
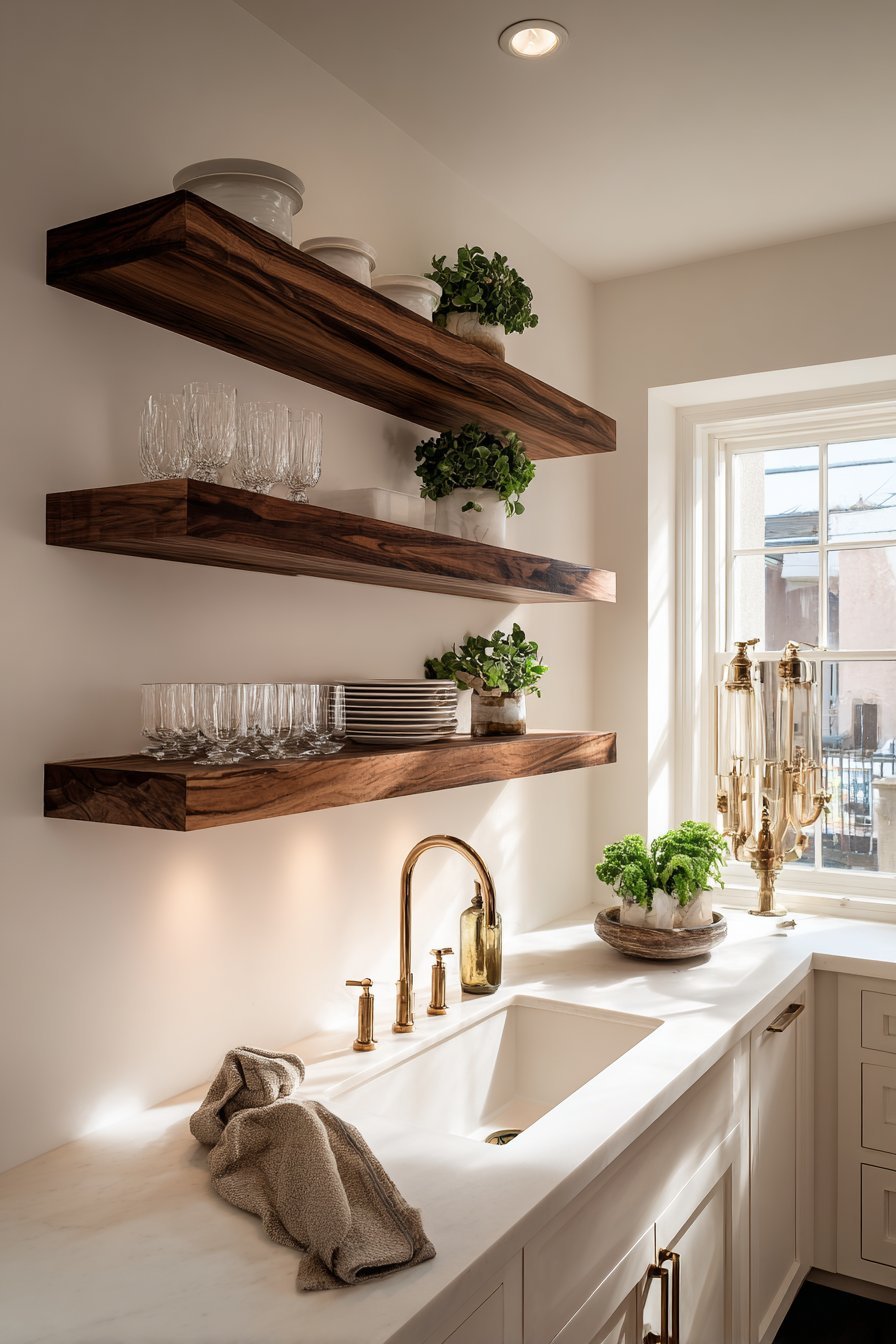
While full walls of open shelving create maintenance challenges, strategic placement of floating shelves adds modern character while showcasing attractive dishware and glassware. This trend addresses the heavy, closed-off feeling of 80s kitchens by introducing visual breathing room and opportunities for personalization.
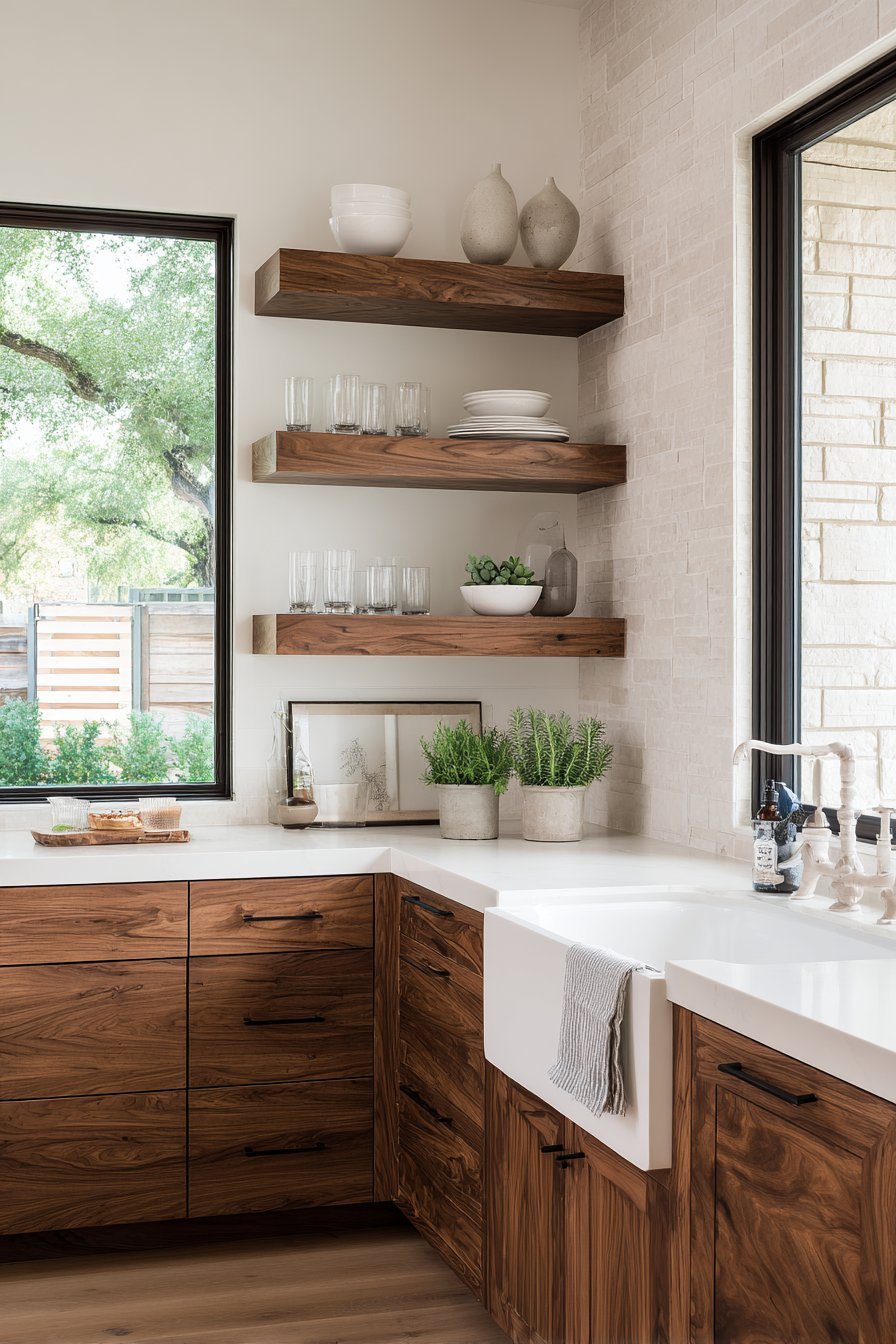
Replace one or two upper cabinet doors with open shelves to create an instant focal point. This works particularly well flanking a window or in corners where traditional cabinets create visual weight. Choose shelving materials that complement your updated aesthetic—natural wood for warmth, white for clean minimalism, or matte black metal for industrial edge. Brackets should be sturdy enough to support dishes while contributing to the overall design.
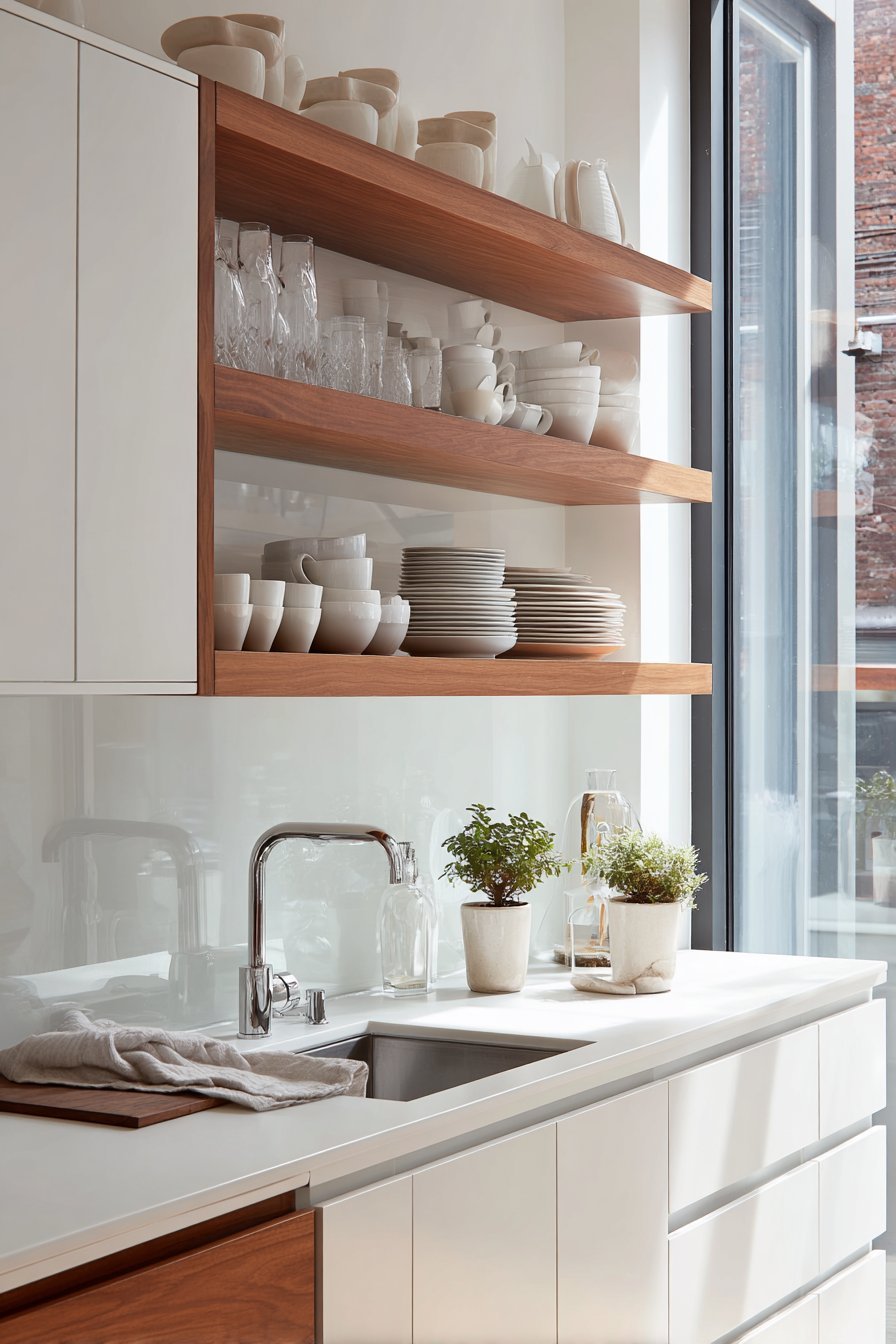
Style open shelves thoughtfully with a curated collection rather than cluttered storage. Limit items to those used frequently or display-worthy pieces in coordinating colors. Stack plates, line up matching glasses, and incorporate small plants or decorative objects for visual interest. The key is maintaining a balanced, intentional appearance rather than allowing shelves to become catch-all storage that undermines the modern aesthetic you’re creating.
- Start with one small section of shelving before committing to larger installations
- Choose shelf depth based on what you’ll display—8-10 inches works for most dishes
- Install shelves at comfortable heights that allow easy access to items
- Limit color palette on open shelves to three coordinating shades for cohesion
- Use shelf liner or decorative backing to add interest and protect wall surfaces
- Rotate displayed items seasonally to keep the look fresh without major changes
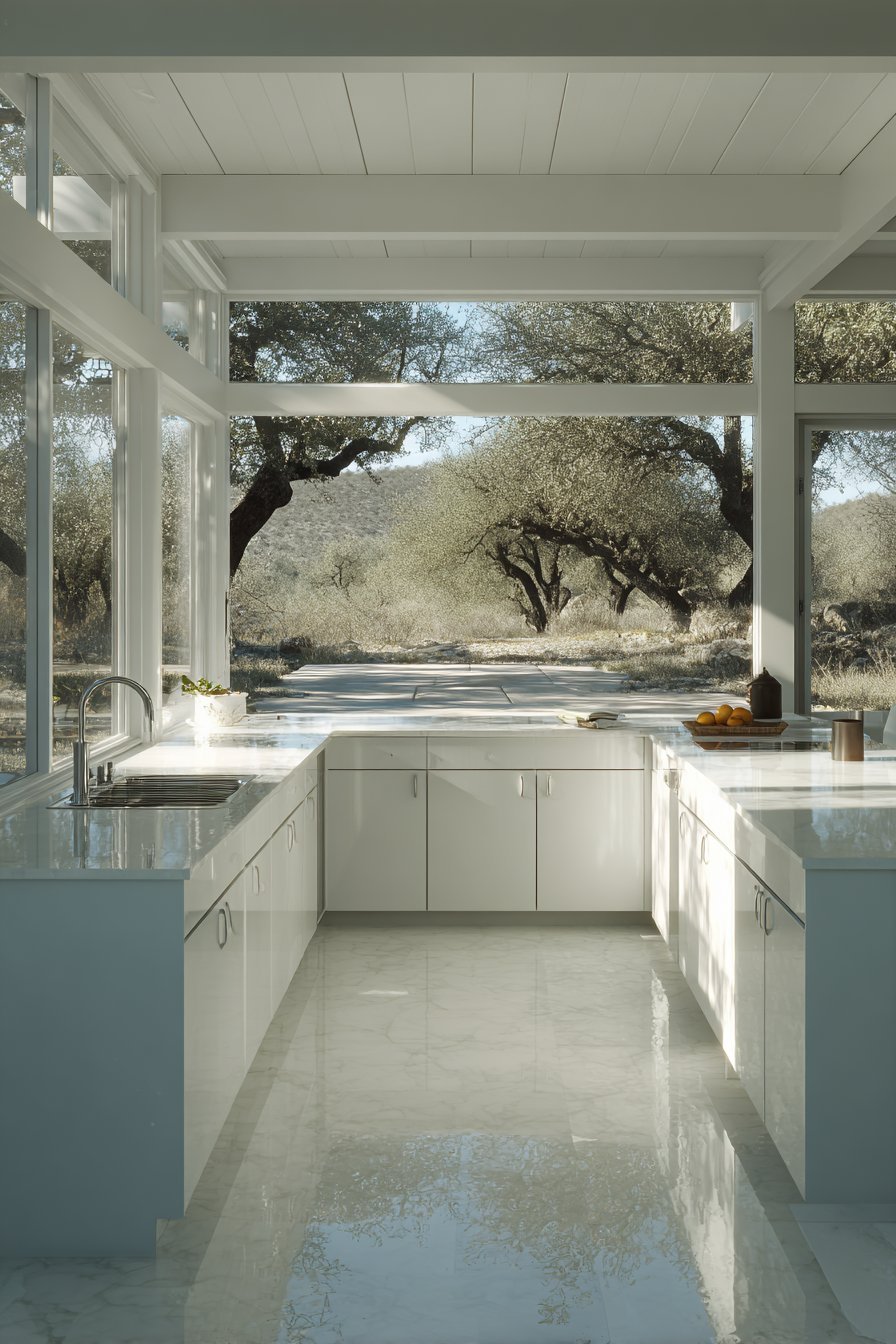
8. Paint Walls in Modern Neutral Tones
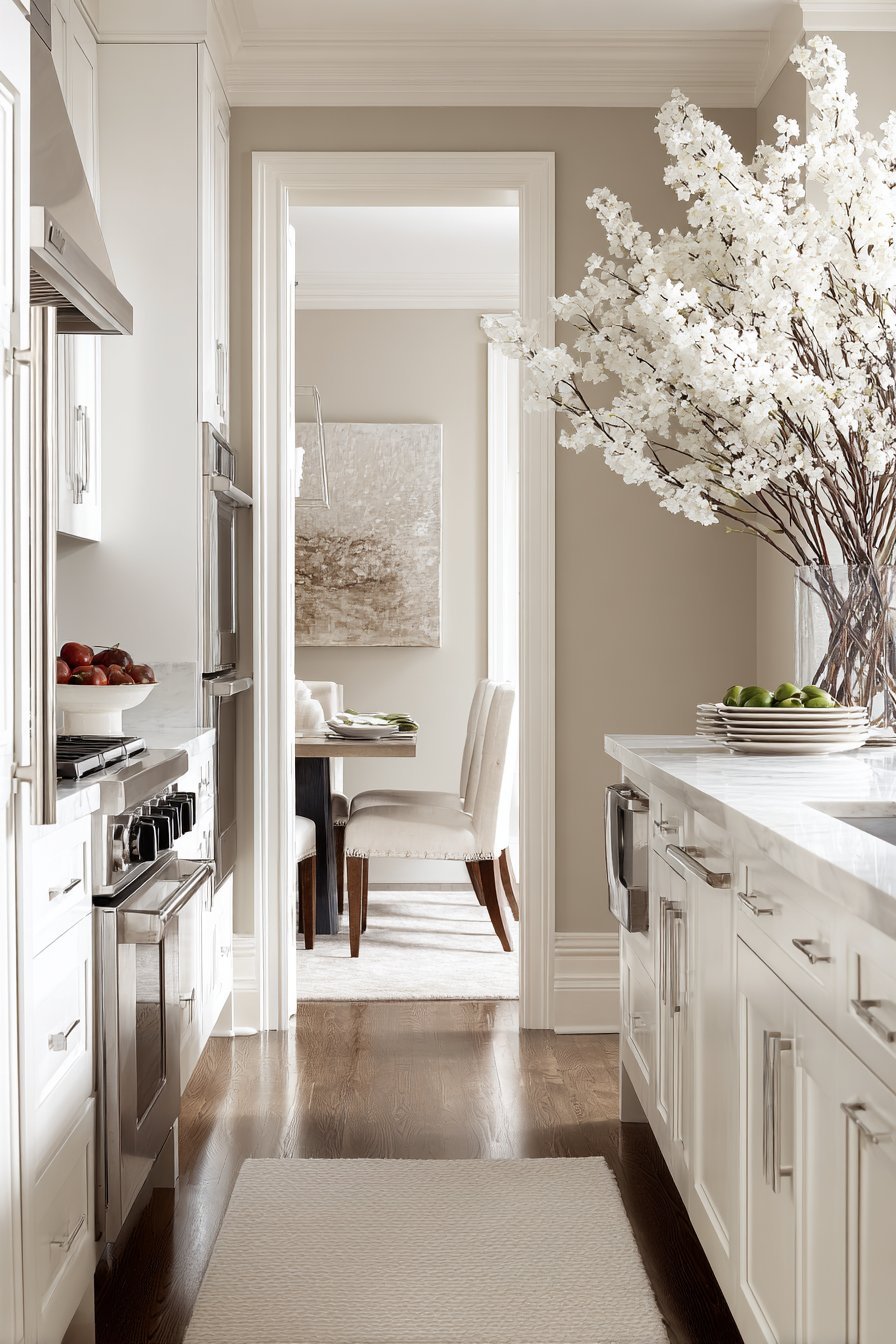
The bold wallpaper borders, busy patterns, and country-themed colors of 80s kitchens clash dramatically with modern sensibilities. A fresh coat of paint in contemporary neutrals provides the foundation for all other updates while dramatically changing the space’s character. Today’s popular shades create calm, sophisticated backdrops that highlight rather than compete with kitchen features.
Warm whites with subtle undertones have replaced stark builder white as the go-to neutral. Colors like Swiss Coffee, White Dove, and Alabaster provide creamy warmth that complements wood tones while feeling fresh and current. For more personality, consider soft grays with warm or cool undertones depending on your lighting and cabinet colors. Greige—a gray-beige hybrid—offers another versatile option that bridges traditional and contemporary styles.
Don’t overlook the impact of painting adjacent spaces in coordinating colors. If your kitchen opens to a dining or living area, carry the same or complementary shade through these spaces for visual continuity that makes your home feel larger and more cohesive. Use semi-gloss or satin finish paints in kitchens for easier cleaning and subtle sheen that reflects light beautifully.
- Test paint samples on large poster boards that you can move around the room
- Observe colors at different times of day to understand how lighting affects appearance
- Choose lighter colors to make small kitchens feel more spacious
- Prime walls properly, especially when covering dark colors or wallpaper
- Paint ceilings bright white to maximize light reflection and perceived height
- Consider painting one accent wall a bolder color if desired, keeping other walls neutral
Conclusion
Modernizing an 80s kitchen on a budget requires strategic thinking and prioritization rather than unlimited funds. By focusing on high-impact changes like painting cabinets, updating lighting, and refreshing surfaces, you can achieve dramatic transformation without professional contractor expenses. Each modification builds upon others to create a cohesive, contemporary space that feels entirely different from its dated starting point.
The beauty of budget renovations lies in their flexibility—complete projects gradually as finances allow while still enjoying improvements along the way. Start with the changes that offer the greatest visual impact for your specific space, then layer additional updates over time. Remember that thoughtful design matters more than expensive materials. A well-planned kitchen with quality paint and strategic updates will always outshine a poorly designed space filled with premium products. Take inspiration from these eight approaches, adapt them to your unique situation, and enjoy the process of creating a kitchen that finally reflects modern living.